Introduction #
Introducing the 3CX Profile Manager, a web-based application designed to simplify user management and boost efficiency for administrators struggling with the complexities of handling user profiles and permissions. Seamlessly integrating with the 3CX phone system, this feature-rich tool enables effortless configuration of profiles, association of users with specific profiles, and complete control over access to various resources within the system. With the 3CX Profile Manager, manual user management headaches become a thing of the past.
Why Choose 3CX Profile Manager? #
 | STREAMLINED USER MANAGEMENT | By organizing users into profiles, you can efficiently apply uniform settings and permissions to multiple users simultaneously, eliminating the need for time-consuming individual configurations. This saves you valuable time and effort while ensuring consistency across your team. |
 | TIGHTNED SECURITY MEASURES | With profile-level control, you can manage access to queues, extension groups, and ring groups efficiently, ensuring users have access only to the necessary resources for their roles. This safeguards your data and prevents unauthorized access effortlessly. |
 | SIMPLE AND INTUITIVE INTERFACE | Effortlessly generate, modify, and oversee profiles without encountering technical difficulties. Bid farewell to intricacy and welcome user-friendly controls for managing settings and permissions seamlessly. |
 | BOOSTED USER PRODUCTIVITY | Enhance productivity significantly by assigning users to queues, extension groups, and ring groups according to profiles. When users are linked to a profile, they gain immediate access to all relevant resources, eliminating the need for manual setup. |
 | TAILORED CONFIGURATIONS | Customize profiles by selecting desired queues, extension groups, and ring groups. Tailor each profile for different departments, teams, or job roles to ensure appropriate resource access for all users. |
Prerequisites #
Before you begin with the installation steps mentioned in this guide, you need to ensure that your computer meets the minimum requirements mentioned below for installing 3CX Profile Manager.
| PREREQUISITE | PURPOSE |
|---|---|
| 3CX Version V20 | 3CX Profile Manager is designed to work seamlessly with this version for enhanced features and performance. |
| Windows 10 or above / Windows Server 2012 or above | These operating systems provide the necessary environment for the application to run efficiently. |
| IIS Features and Configuration – VoIPTools 7.2 or above | IIS is needed as a web server to host and manage web-based applications and services. |
| .NET Framework 4.7.2 (Web Installer) | This framework provides essential components for running and developing applications. |
| VoIPTools Universal Updater | This component is necessary for updates, ensuring the application remains current and functional. |
| VoIPTools Relay Service | It is used for proper integration and functionality of the 3CX Profile Manager within the 3CX environment. |
| Microsoft SQL Server 2016 or above (Including the free SQL Express edition) | 3CX requires Microsoft SQL Server 2016 or later for database management. |
| Static IP for VoIPTools and 3CX servers | This is to ensure proper two-way communication, both the 3CX server (Relay) and the VoIPTools server. Dynamically assigned IP addresses are not supported. Additionally, it is recommended to use HTTPS for secure communication, which requires a FQDN for SSL/TLS certificate validation between the VoIPTools server and the Relay. |
| Port number 7955 opened on your device | Port 7955 is a specific network port used by 3CX for communication purposes. Opening this port on the device’s firewall allows incoming and outgoing traffic to pass through, enabling the 3CX software to send and receive data over the network effectively. |
NOTE:
- When installing SQL Server, we recommend you install it in “Mixed Mode” to include SQL Authentication, and install SQL Management Studio
- When installing IIS, be sure to install Basic Authentication, .Net Extensibility, and ASP.Net 4.X
Installation overview #
 | DOWNLOAD SOFTWARE | You can order 3CX Profile Manager online at https://www.voiptools.com. Your order confirmation email will include your license key and a link to download the software. |
 | INSTALL PREREQUISITES | You must install several prerequisites before installing the 3CX Profile Manager. The Advanced Installer identifies and installs these applications automatically. Click here to learn about the required prerequisites. |
 | INSTALL 3CX PROFILE MANAGER | This User Guide contains step-by-step instructions to successfully install 3CX Profile Manager. Begin by extracting the installer from the downloaded zip file (Step 1 above), then run the setup program named ProfileManagerinstaller.exe |
 | LOGIN TO THE WEB APPLICATION | You can now log in to your software using the Extension and PIN. |
Step By Step Installation Procedure #
The following section guides you through a detailed walk-through of the installation process:
Step 1: Download 3CX Profile Manager #
Find the software download link in the Order Confirmation Email, or you can download the application by following the procedure,
- Open your browser and go to the VoIPTools official website or click here to get redirected to the website.
- Search for the Profile Manager Application and click the Download
 button to download your application.
Step 2: Install Prerequisites #
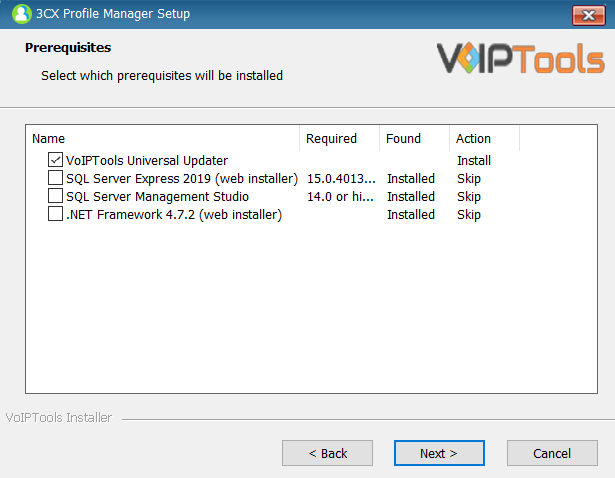
Click on the software installer that was downloaded in step 1 above. The installation wizard will automatically identify the needed prerequisites and assist you with the install of the prerequisites needed to run ‘3CX Profile Manager’. These include .NET Framework (Web Installer), SQL Server Express (Web Installer) and, SQL Server Management Studio.
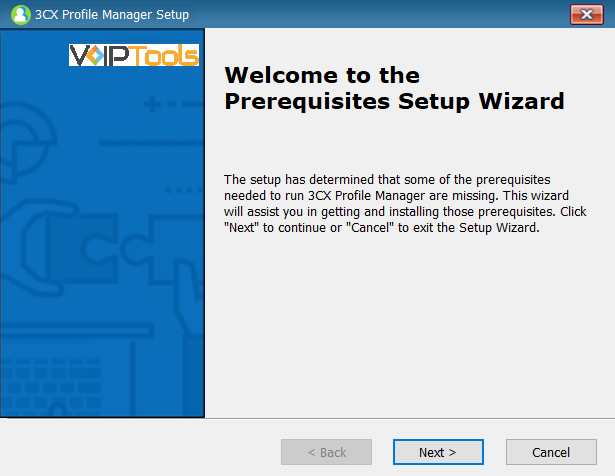
- Click the downloaded installer executable to launch the Prerequisites Setup Wizard and click Next.
- In the Prerequisites window, the installer will identify the missing prerequisites. It is important that you install all the required prerequisites. However, you can select/unselect the applications to be installed based on your unique requirements. Click Next to continue.
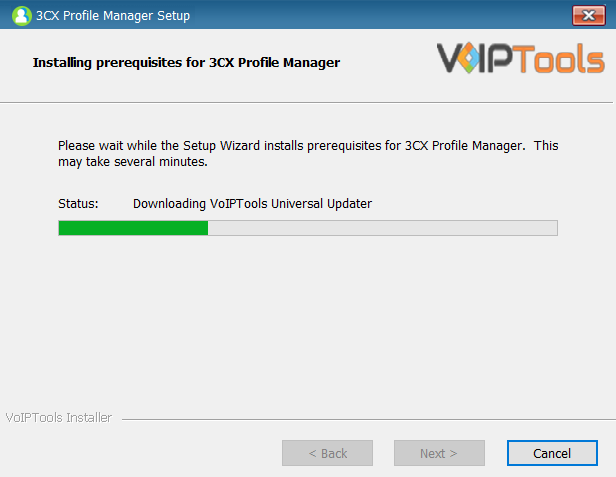
The installer will download and install the selected applications.
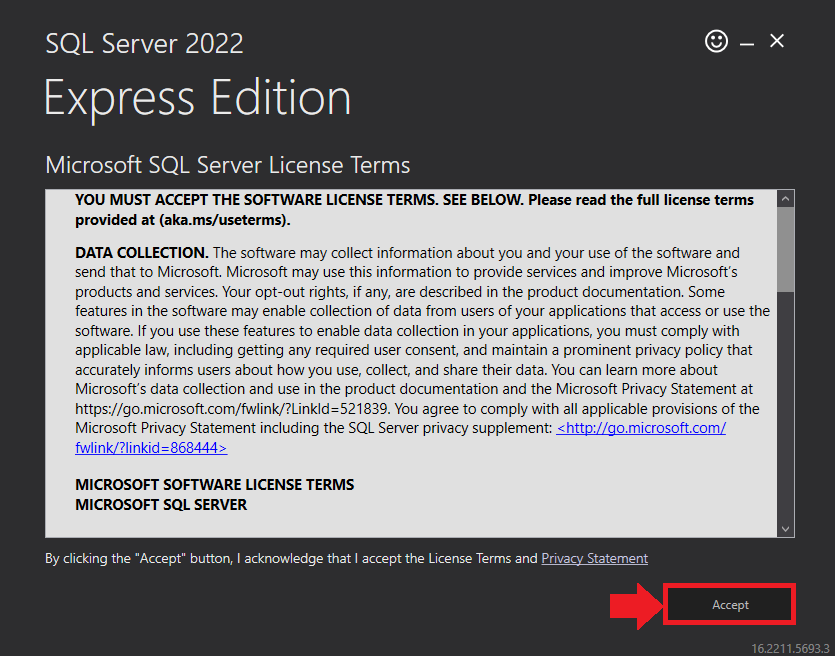
- In the Microsoft SQL Server License Terms click the Accept button to acknowledge the license terms and continue.
- This page appears if you do not have SQL Server Express preinstalled in your device.
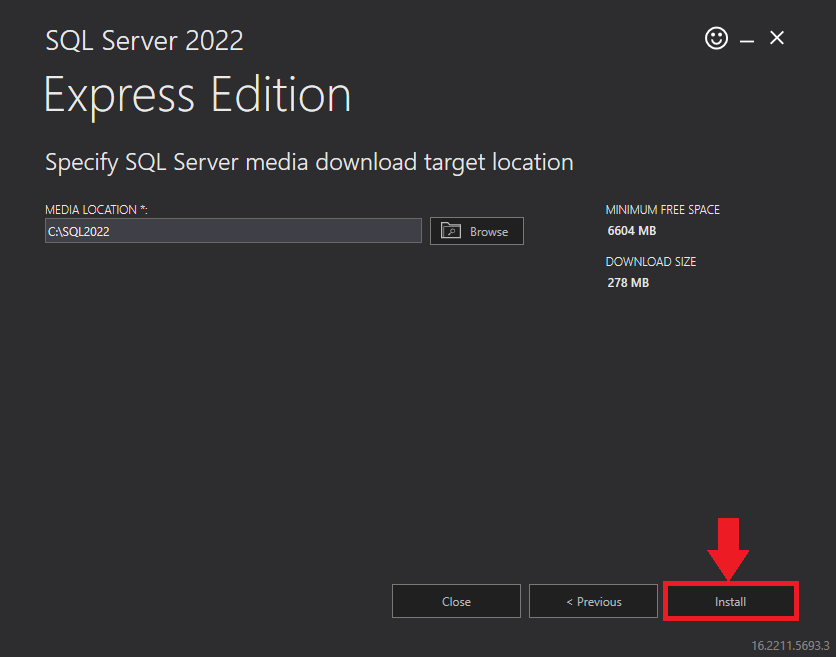
- View the SQL Server Media target location in the Media Location field. If required, you can click the Browse button to change the location. Click Install to begin the installation of SQL Server Express.
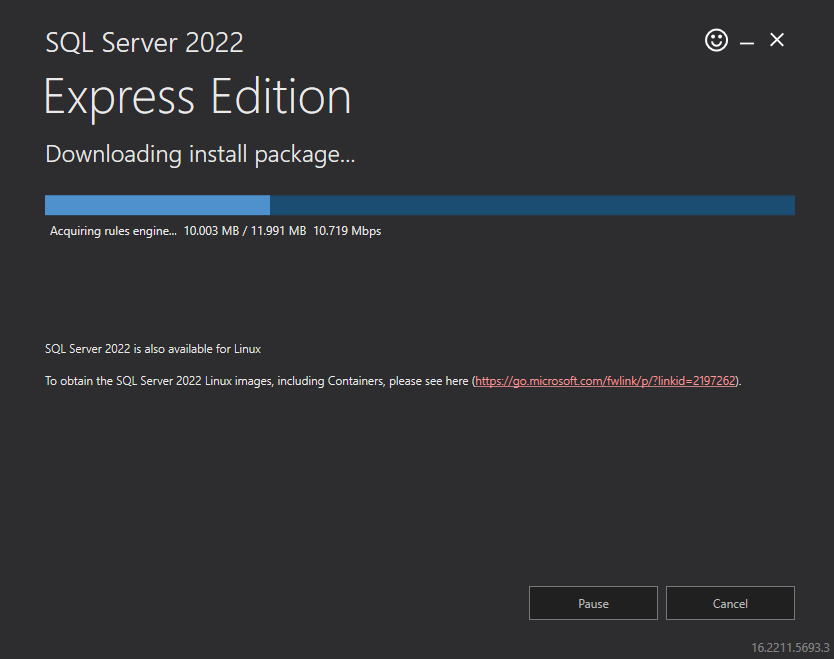
SQL server installation is in progress. This may take several minutes to complete.
- Click the Close button once the prerequisites are installed.
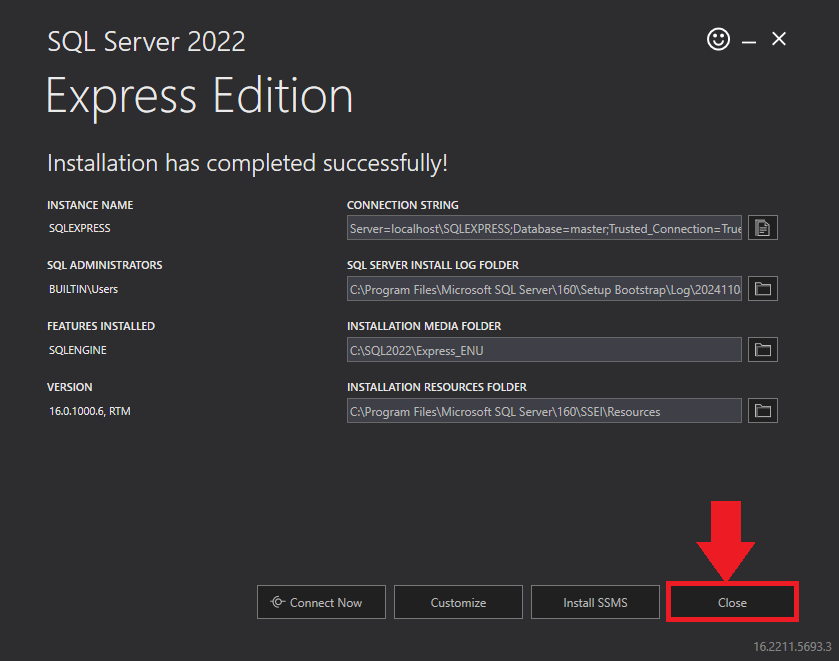
Figure 9: SQL Server Express: Reboot your computer
Step 3: Start the installation process #
- After all the prerequisites are installed, the 3CX Profile Manager Setup Wizard appears. Click Next to Continue.

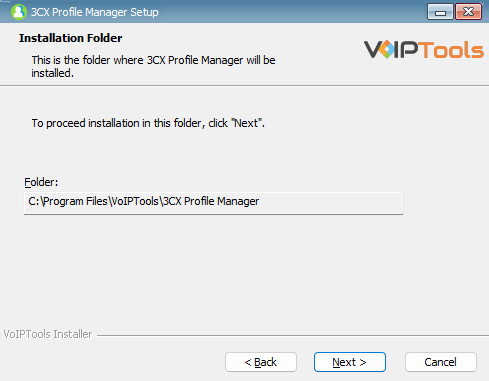
- On the Select Installation Folder window, the Folder field displays the location where the ‘3CX Profile Manager’ will be installed. Note that you cannot change the path.
- Click Next to continue.
Step 4: Test Relay Settings #
- In the 3CX Relay Services window, in the Relay Host field, enter the FQDN of your 3CX server.
- Enter 8801 in the Relay Port field.
- Enter the public key you took from VoIPTools Relay services in the Public Key text area.
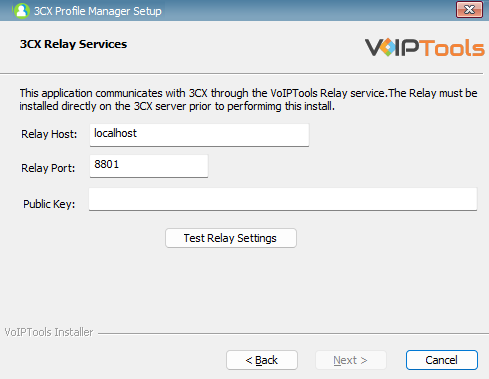
- Click the Test Relay Settings to confirm ‘3CX Profile Manager’ can communicate with the Relay services running on the 3CX server.
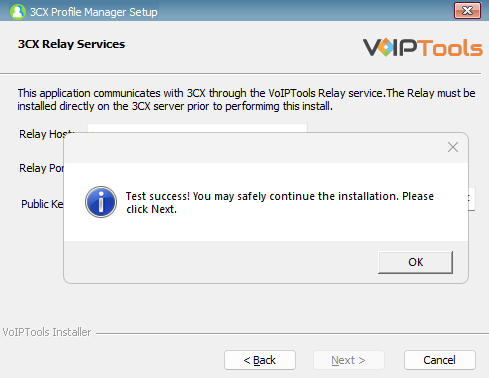
- If the ‘3CX Profile Manager’ is successfully able to communicate with the Relay services that run on the 3CX server, a Success message box appears. Click OK. If the test fails, you will not be able to continue until communication with the relay is established.
- Click Next to continue with the installation.
If the test was unsuccessful:
- confirm you have the correct firewall port open (default TCP 8801) on the 3CX server and the firewall protecting the 3CX server.
- confirm that you have entered the correct FQDN for the 3CX server.
- confirm that 3CX Profile Manager and the Relay are using the same port and protocol.
Step 5: Configure the database #
When configuring the 3CX Profile Manager, select an existing Microsoft SQL Server instance in your environment. The database server can be a remote SQL Server, or a local instance running on the VoIPTools server.
You can set up the SQL database using SQL Authentication or Windows Integrated Authentication.
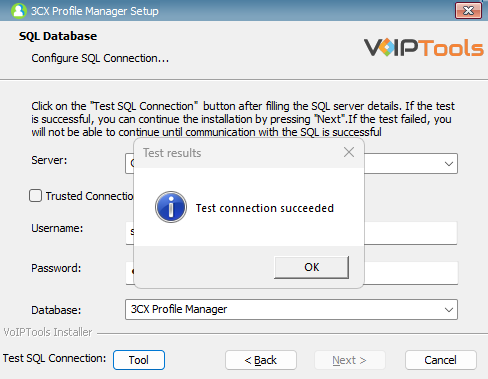
SQL Authentication #
- Enter your server name in the Server field.
- If using the free SQL Express Edition, the default SQL Instance name is SQLExpress.

- If you want to use ‘SQL Authentication’, then install SQL Server in ‘Mixed‘ mode.
- If SQL Server is installed on a server other than the server where 3CX Exporter is installed, you will need to configure SQL Server to allow remote connections.
- Enter your credentials in the Username and Password fields.
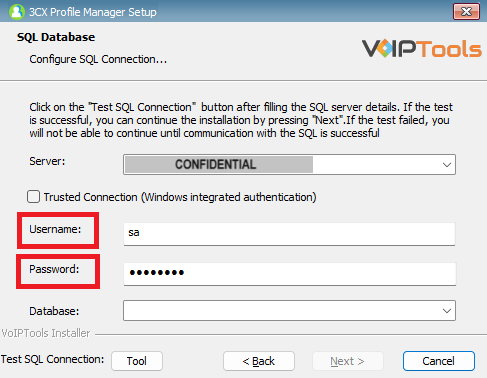
Make sure that you select a SQL Login that has sufficient permissions to alter the database and create SQL objects.
- Select or enter the 3CX Emergency Notifier in the Database dropdown.
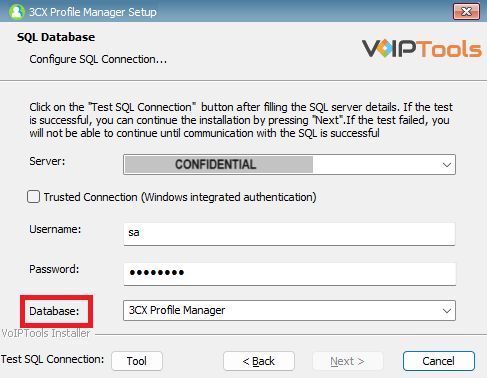
- In the Test SQL Connections section, click the Tool button to test the connection and click OK in the Test Results popup box.
Windows Integrated Authentication #
- To use Windows Integrated Authentication check the Trusted Connection (Windows integrated authentication) checkbox.
- The VoIPTools installer will create a local Windows user name as “VoIPToys” and give you sufficient rights to this user to create/update the SQL database.
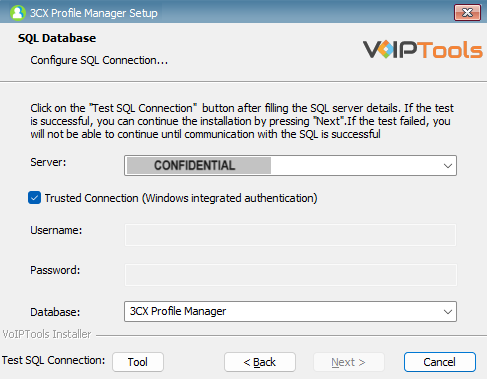
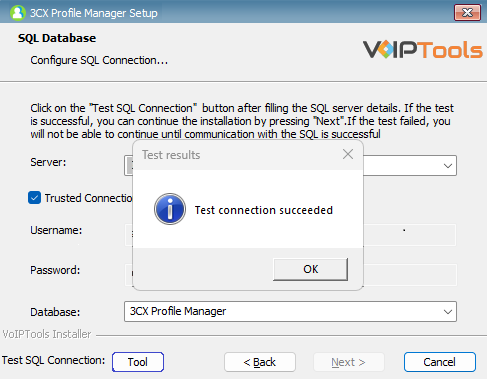
- In the Test SQL Connection section, click the Tool button to test the connection.
- Click the Next button which gets enabled when the database connection is successful.
We encourage you to use SQL Authentication rather than Windows authentication. Many of our tools leverage a Call Flow Designer (CFD) application running on the 3CX. Frequently our CFD applications require access to a SQL database. If the 3CX server and the database server are not in an Active Directory domain, Windows authentication will fail. To use SQL authentication, your SQL Server must be configured to run in “Mixed Mode”. If you installed SQL Server with one of our tools, we configure SQL in “Mixed Mode”.
Step 6: Installing 3CX Profile Manager #
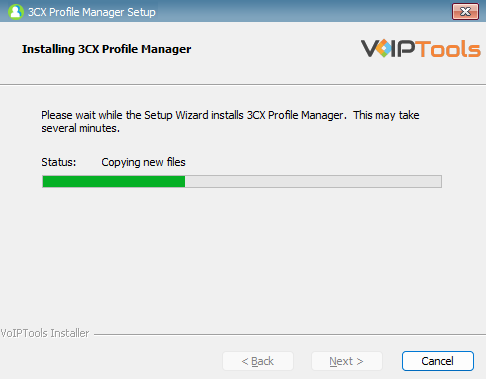
- In the Ready to Install window, click Install to start the installation of the ‘3CX Profile Manager’.
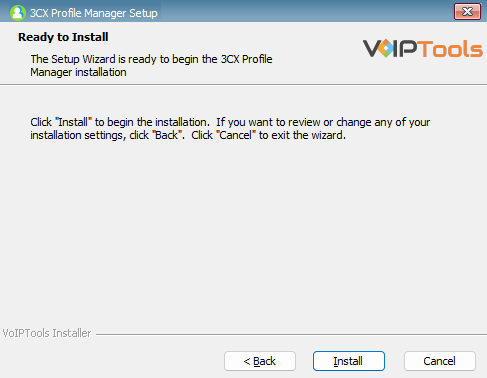
The application installation progresses.
Step 7: Register your Software #
Follow the procedure to login to your software,
- Click the Profile Manager desktop icon
 to launch the web application.
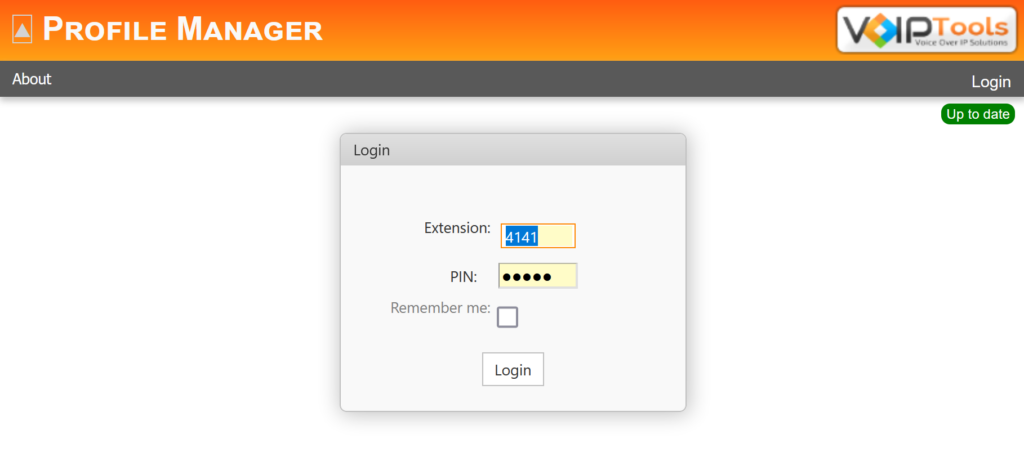
 - On the Login page, do the following tasks,
- In the Extension field, enter your 3CX extension number.
- In the PIN field, enter your 3CX voicemail PIN.
- Click the Login button to log in to your account.
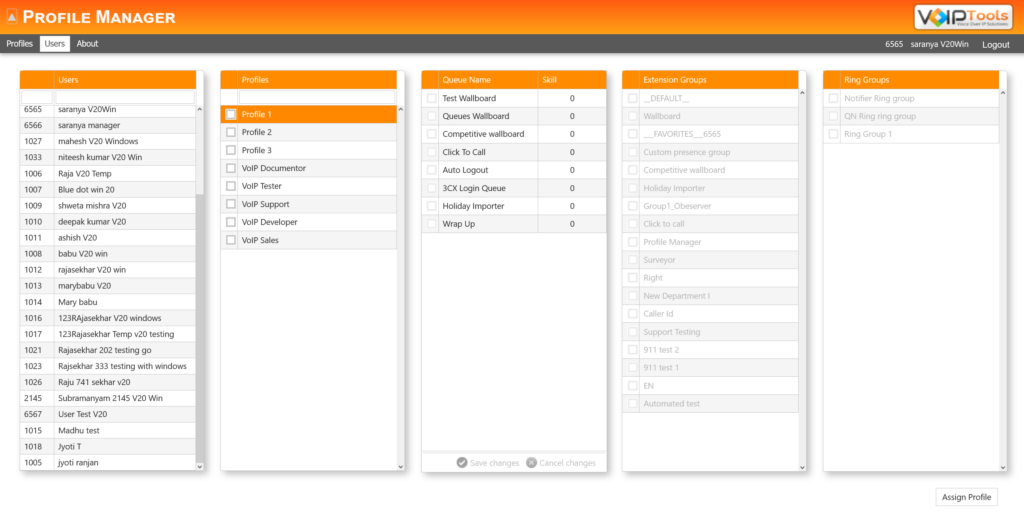
Web Portal #
To access the ‘3CX Profile Manager’ web portal, click on the desktop icon that was created during the installation process (‘3CX Profile Manager’ Web).
As a ‘System Administrator’, you can add/modify profiles. As a ‘Queue Manager’, you can only view the ready-only profile data.
Profiles #
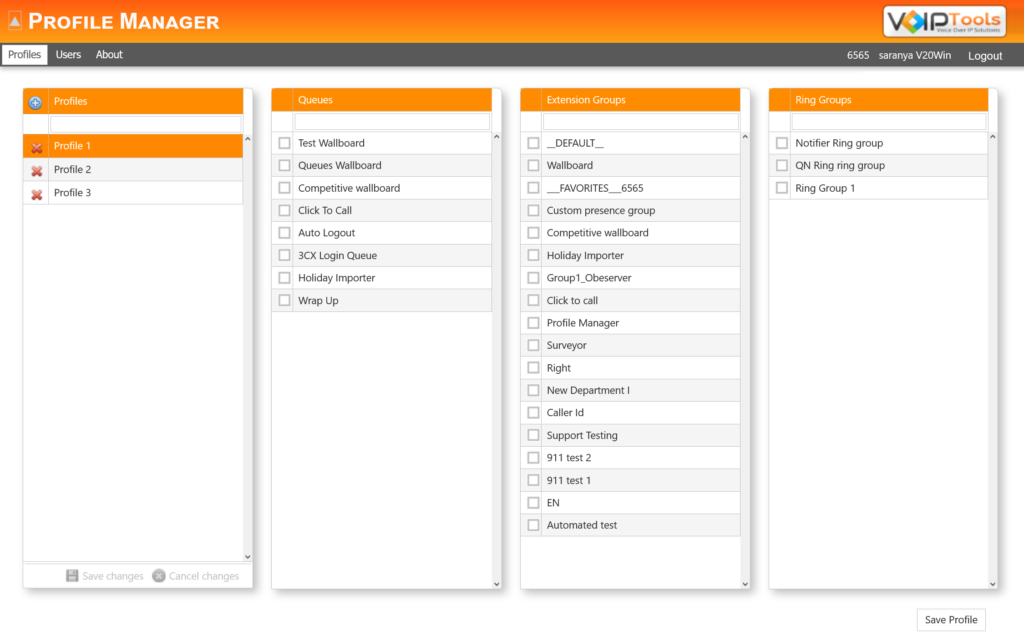
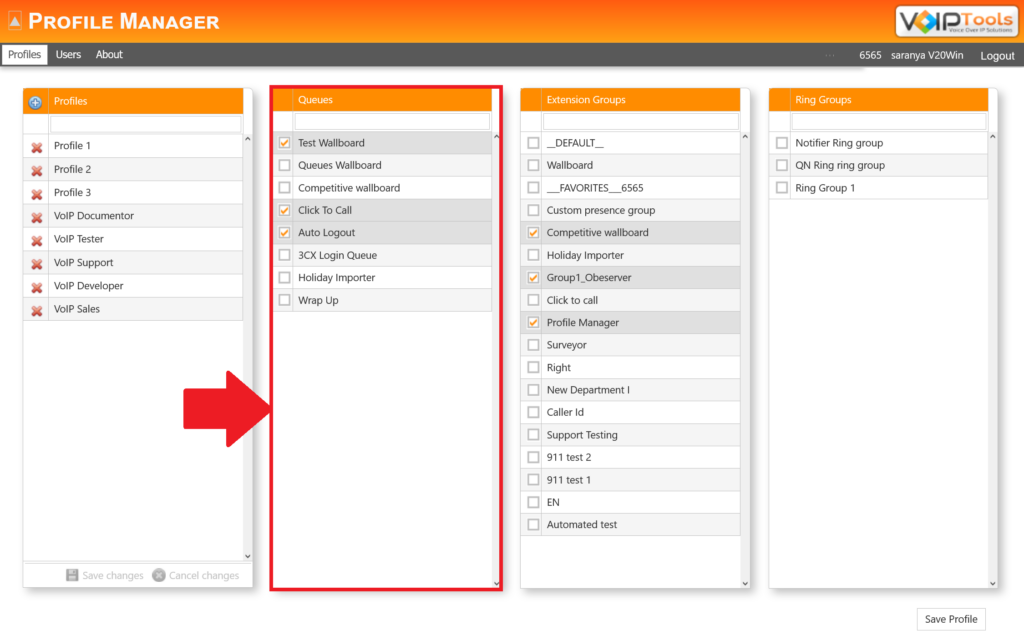
As a System Administrator, you can configure a profile by simply adding desired queues, extension groups and ring groups. When you add a user to a specific profile, the user will be automatically added to all the queues, extension groups and ring groups associated to that profile.
Create a Profile #
- In the Profiles screen, and beside Profiles, click Add button and then enter the name for the new profile.

- Click the Save Changes
 button to save the profile. The Profiles grid displays the new profile.
 - In the Queues grid, select the desired queues that you want to associate to the profile.
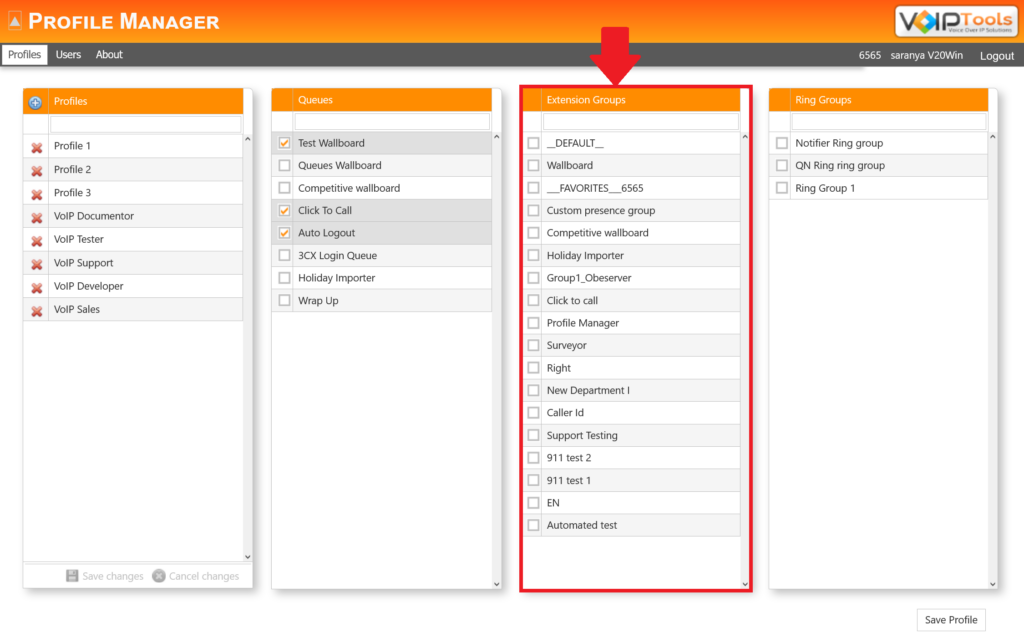
- In the Extension Groups grid, select the desired extension groups that you want to associate to the profile.
- In the Ring Groups grid, select the desired ring groups that you want to associate to the profile.
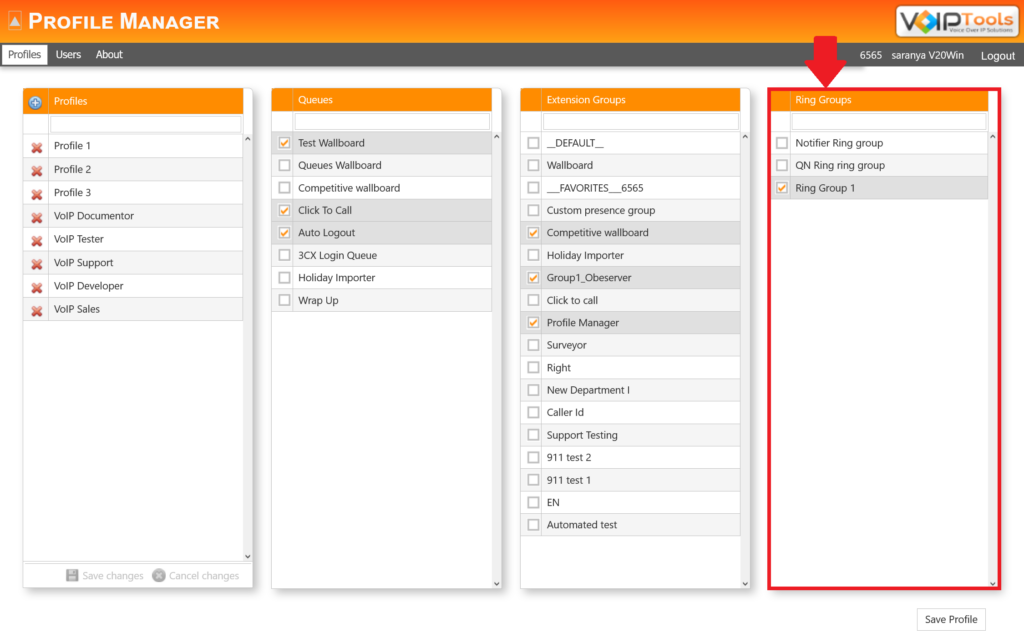
- Click Save Profile. The selected queues, extension groups and ring groups will be associated to the profile.

Modify a Profile #
- In the Profiles screen, select the desired profile that you want to modify.
- In the Queues grid, select/unselect the desired queues.
- In the Extension Groups grid, select/unselect the desired extension groups.
- In the Ring Groups grid, select/unselect the desired ring groups.
- Click Save Profile. All the users associated to the profile will be added/removed from the selected/unselected queues, extension groups and ring groups respectively.
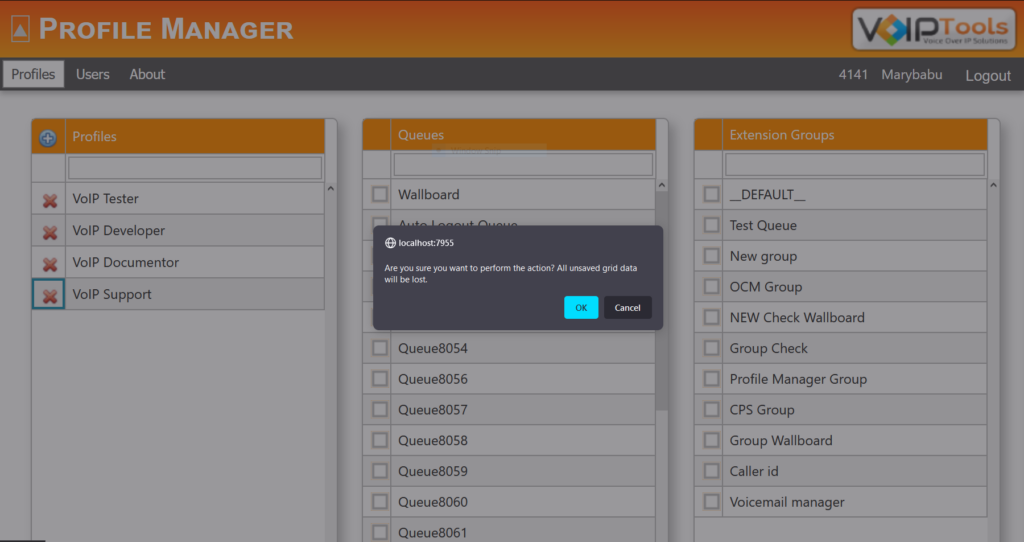
Delete a Profile #
Follow the procedure to delete a profile,
- In the Profile column select the desired profile and click the Delete
 button.
 - In the Confirmation box click Cancel and click the Save button to save the changes.
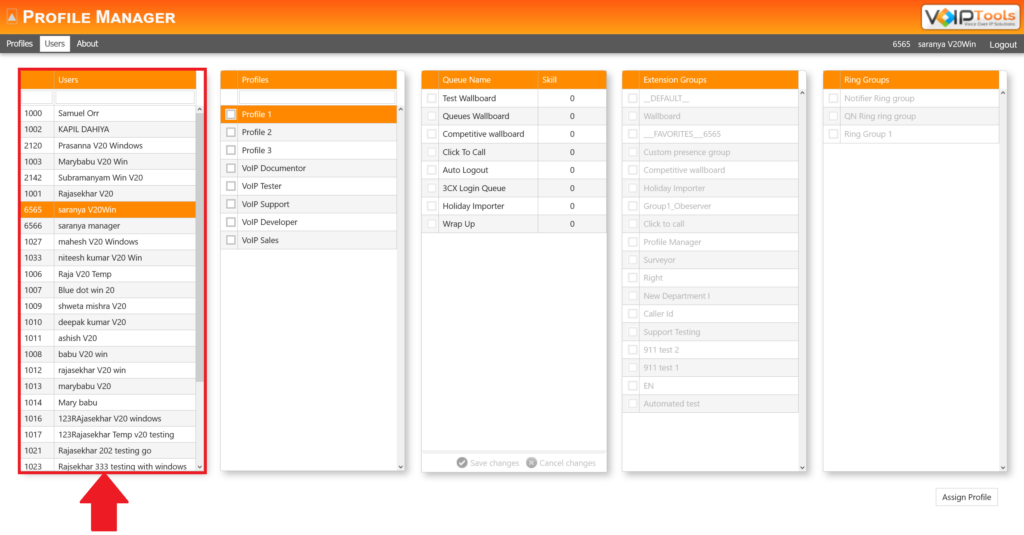
Users #
The ‘Users’ screen displays all the users and their associated profiles, along with respective read-only profile data. As a system administrator, you can associate/dissociate a user from a profile.
Associate a User from Profile #
- From the Users grid, select the desired user whom you want to associate with a profile.
- From the Profiles grid, select the desired profile that you want to associate to the selected user.
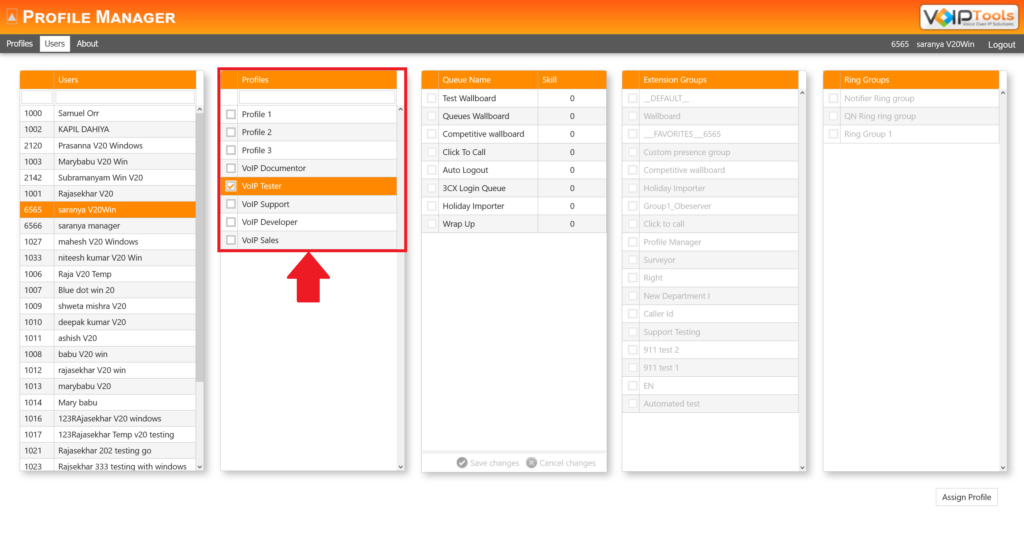
- Click the Assign Profile button on the bottom right of the screen.
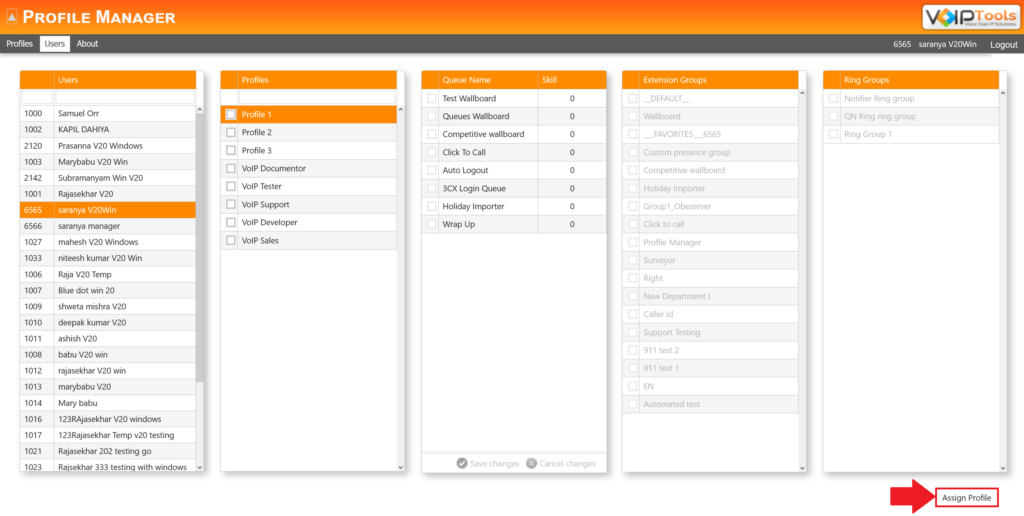
The user will be automatically added to the respective queues, extension groups and ring groups associated to the selected profile
Dissociate a User from Profile #
- From the Users grid, select the desired user whom you want to dissociate from a profile.
- From the Profiles grid, select the desired profile that you want to dissociate from the selected user. The user will be automatically removed from all the respective queues, extension groups and ring groups associated to the selected profile
- Click Assign Profile button on the bottom right of the screen.
Modify Agent Skill Level #
You can modify agent skills on a scale of 1 to 5 provided that the ‘Queue Polling Strategy’ of the skill is set to ‘Skill Based Routing’.
- In the Skill field of the respective Queue, enter the value on a scale of 1 to 5.
- Click Save Changes.
Need Support? #
You get quick answers to most of your inquiries in our online manual. If you prefer direct contact, we offer various support channels, including phone, email, live chat, and our helpful VoIPTools forums.

24/7 Support Availability #
Rest assured, our dedicated team is here to assist you around the clock, every day of the year. Whether you’re based in the USA or India, we’re ready to provide prompt responses to your technical queries.

Windows Event Log for VoIPTools Applications and Services #
For troubleshooting any application errors, our Windows Event Log contains a comprehensive list of error messages, warnings, and informative notes related to all our VoIPTools applications and services. It’s a valuable resource to help you pinpoint and resolve any issues you may encounter.

Join Our Forum Community #
Are you looking to collaborate with other VoIPTools customers facing similar challenges? Our forum is the perfect platform to exchange ideas, solutions, and best practices. Join the conversation at: https://www.voiptools.com/community/

Real-Time Live Chat Assistance #
Got questions that need immediate answers? Our chat support team is available to assist you in real time. Just click on the Live Chat button located at the lower right corner of our website, and we’ll acknowledge your queries right away.

Efficient Email Support #
To ensure a thorough understanding of your concerns, email us at support@voiptools.com. Describe your issue in detail, and we’ll get back to you within one business day with the support you need.

Reach Us by Phone #
If you prefer to speak with a representative directly, you can reach us at +1 801-642-4655. Our attentive team is available to take your calls from 8:00 AM to 6:00 PM (Central Standard Time).
Comprehensive support services: #

Free Support #
If you’ve purchased our products through a VoIPTools Partner, rest assured that they provide first-level support at no additional cost. Partners have access to 100% free technical assistance and actively participate in the troubleshooting process.
VoIPTools customers enjoy access to our online manuals and receive support through emails (with responses within one business day) and live chat. However, please note that we do not provide remote server login assistance.

Paid Support #
For a more hands-on experience, consider our “Installation Support” package. Our expert support team can log in to your servers, and install and configure all our tools. This comprehensive service includes setting up SQL Server Express and Internet Information Server if necessary. We’ll work closely with you to tailor our applications to meet your requirements.
We’re committed to providing top-notch support to ensure your VoIPTools experience is smooth and hassle-free. Contact us today, and let us assist you in making the most of our powerful tools!
