Boost Phone Call Efficiency with 3CX Wrap-up Codes: Streamline, Classify, and Optimize
In your endeavor to enhance phone call productivity, consider the invaluable assistance of 3CX Wrap-up Codes. These tools facilitate real-time categorization and analysis of call purposes and outcomes with ease. You can simply choose from a predefined list of codes to accurately label each call, regardless of your department, be it support or sales.
When you make or receive a call, a user-friendly pop-up menu appears, enabling you to select the most relevant code that matches the call’s goal. For instance, support teams can use codes like “Installation Issue” or “Hardware Problem” for categorization. Sales teams, on the other hand, may find “Follow-Up” or “New Leads” codes helpful for efficient tracking.
The implementation of wrap-up codes, also known as disposition codes, simplifies the process of classifying and monitoring call purposes and outcomes. During a call, a pop-up menu offers a choice of established codes. For support teams, it’s a quick selection of codes like “Installation Issue” or “Hardware Failure,” while sales teams can easily tag calls as “Follow-Up” or “Lead.” This tracking system provides valuable insights into time management, empowering you to refine your business processes with precision.
Record thorough notes about each call’s purpose and final outcome, ensuring accurate information is readily available. Keep tabs on every call, both incoming and outgoing, to know exactly what happened.
CUSTOMIZE YOUR CODES
Tailor your own codes to match your unique requirements effortlessly and choose from a predefined list of codes during calls, classifying purposes or results with ease.
ENHANCED ORGANIZATION
Efficiently categorize and track calls, allowing for streamlined organization and effortless retrieval of call data.
ANALYZE TIME ALLOCATION
Gain valuable insights into how your team spends their time during calls, enabling better time management and analysis.
DATA-DRIVEN DECISION MAKING
Optimize business processes and make informed decisions using comprehensive reports on call classifications and outcomes.
BOOST AGENT PERFORMANCE
Monitor agent activity to identify top performers who excel at capturing leads or closing sales.
You can order the 3CX Wrapup Codes (Client) online at https://www.voiptools.com. Your order confirmation email will include your license key and a link to download the software.
INSTALL PREREQUISITES
You must install several prerequisites before installing the 3CX Wrapup Codes (Client). The Advanced Installer identifies and installs these applications automatically. Click here to learn about the required prerequisites.
INSTALL 3CX WRAPUP CODES
This User Guide contains step-by-step instructions to successfully install the 3CX Wrapup Codes (Client) . Begin by extracting the installer from the downloaded zip file (Step 1 above), then run the setup program named Wrapupcode(client).exe
NOTE:
You must install the same version of the Wrapup Codes Client and Wrapup Codes Server applications.
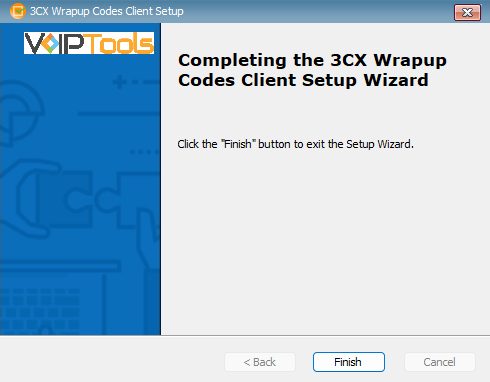
Click the downloaded installer executable to start the 3CX Wrapup Codes (Client) setup wizard.
Figure 1: Installation Setup Wizard
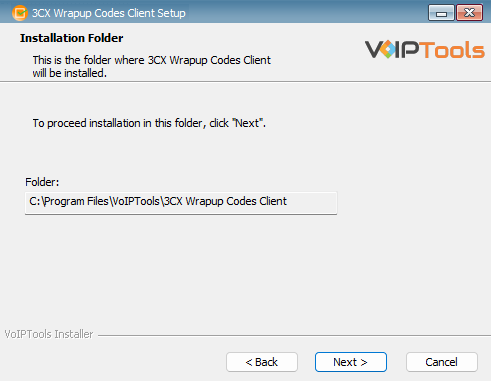
View the installation folder in the Select Installation Folder window. You cannot change the installation path.
Figure 2: Installation Folder Location
Click Next to continue.
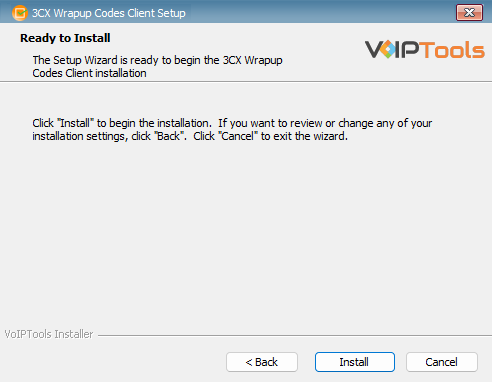
In the Ready to Install window, click Install to start the installation of the ‘3CX Wrapup Codes (Client)’.
Figure 3: Install 3CX Wrapup Codes
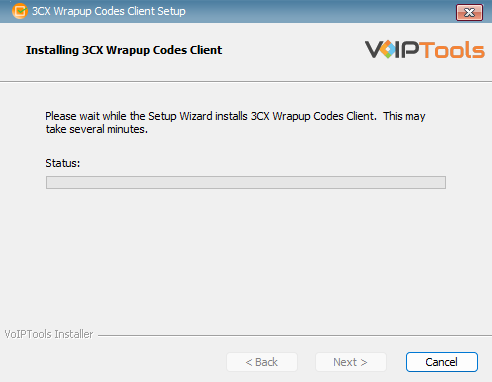
The application installation progresses. This may take several minutes to complete.
Figure 4: Installation of ‘3CX Wrapup Codes’ in Progress
Once the installation is complete, check Launch 3CX Wrapup Codes (Client) check box and then click Finish. The 3CX Wrapup Codes (Client)configuration screen opens. If you want to simply close the installer without opening the configuration screen, then simply uncheck Launch 3CX Wrapup Codes (Client) check box and then click Finish
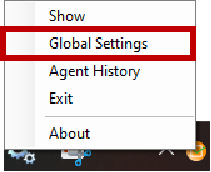
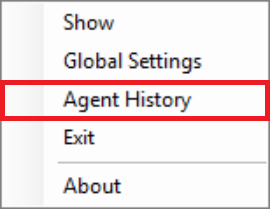
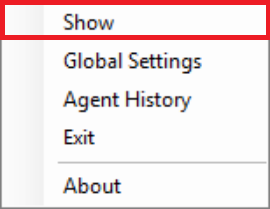
Once you start the ‘3CX Wraup Codes’ application, the ‘wrapupcodes service’ starts and the application will be available as a hidden icon in the system tray. From here, you can:
Configure settings for the desired agent so that the agent will get a popup that enables them to wrap up the call whenever the call is answered.
Attend the call and select the desired wrapup code.
Add notes for wrap-up code.
Exit from the application so that the application icon no longer appears in the system tray.
NOTE:
The Wrapup Codes Client starts automatically when you start your device. You can access the application from the hidden system tray.
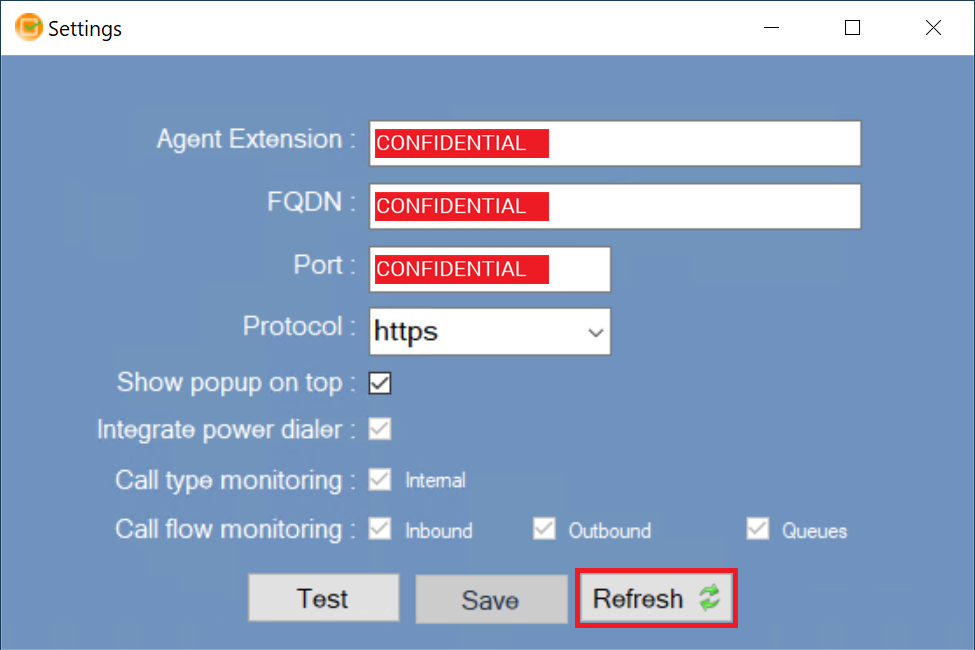
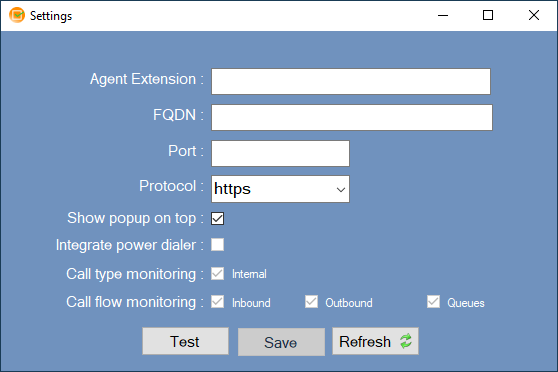
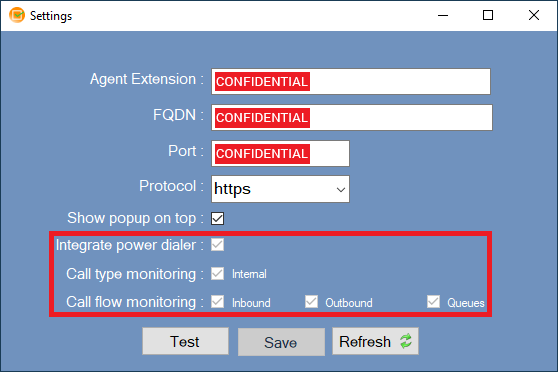
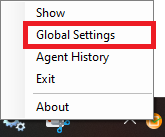
In the Global Settings dialog box, and in the Agent Extension field, enter the extension of the agent who will attend the calls.
In the FQDN field, enter the ip address of the server in which ‘Wrap-up Codes – Server’ is installed.
In the Port field, enter the port number of the ‘Wrap-up Codes – Server’ application. If you want to select Protocol as HTTP then the default port no. is 7750. If you want to select Protocol as HTTPS then, enter the port number which you have associated with HTTPS in ‘Wrapup Codes Server’.
Figure 9: Configure Settings for Agent
Field
Description
Editable
Agent extension
Your assigned extension number on the 3CX phone system.
Yes
FQDN
Fully Qualified Domain Name of your 3CX server.
Yes
Port
Port used to connect to the 3CX Wrapup Codes server.
Yes
Protocol
Select http or https based on your server configuration. Default is https.
Yes
Show popup on top
Always displays the popup on top of other open applications on your device.
Yes
Integrate power dialerNew
Triggers popup for power dialer calls. Read-only in client.
Server only
Call type monitoringNew
Filters which call types trigger the popup. Read-only in client.
Server only
Call flow monitoringNew
Controls which call directions trigger the popup. Read-only in client.
Server only
NOTE:
If you are not connected through office VPN network then, ensure the following:
Enable the 7750 port in the firewall where the server application is installed to avoid connection interruption between the client and server applications.
Enable 8801 relay port in firewall where the server application is installed so that the application recognizes where the user answered the call or not.
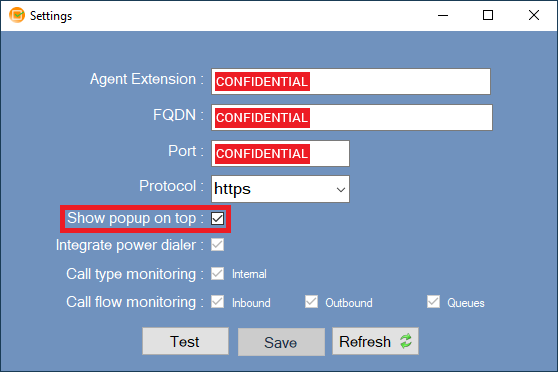
Check Show popup on top to always display the 3CX Wrapup Codes Client on top of other running applications. This keeps the popup visible and accessible immediately after a call ends.
Figure 10: Show Popup on Top Checkbox
📌 Important — Read-Only in Client Version
Figure 11: Read-Only in Client version
Integrate Power Dialer, Call Type Monitoring, and Call Flow Monitoring are server-side settings. These options are visible in the client interface but can only be configured by an administrator through the 3CX Wrapup Codes server version. Users cannot check or modify these settings from the client application.
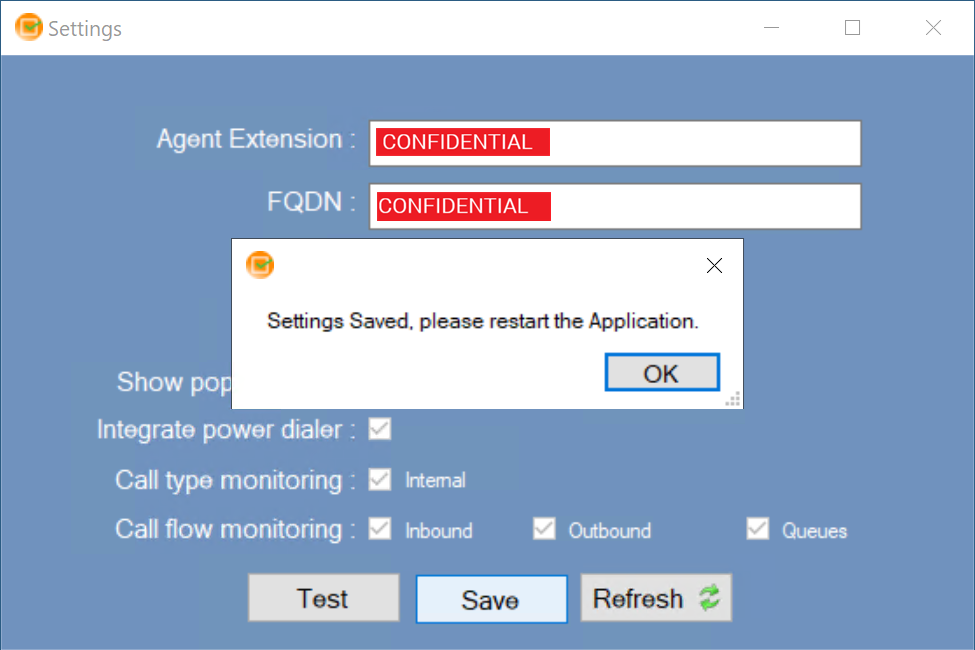
Click the Test button to test connectivity 3CX Wrapup Codes with the database.
Figure 12: Globe Settings – Test Connection Success
NOTE:
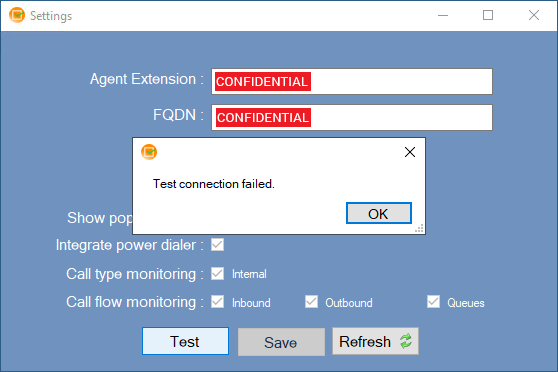
You cannot save the settings when the test fails.
Figure 13: Globe Settings – Test Connection Failed
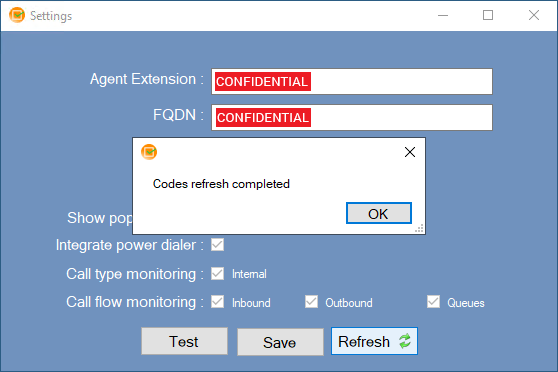
Click the Refresh button to refresh the codes created in the 3CX Wrapup Codes Server web application.
Follow the procedure to associate a wrap-up code to a call.
When a customer calls, click the Answer button.
Figure 20: Incoming call from customer
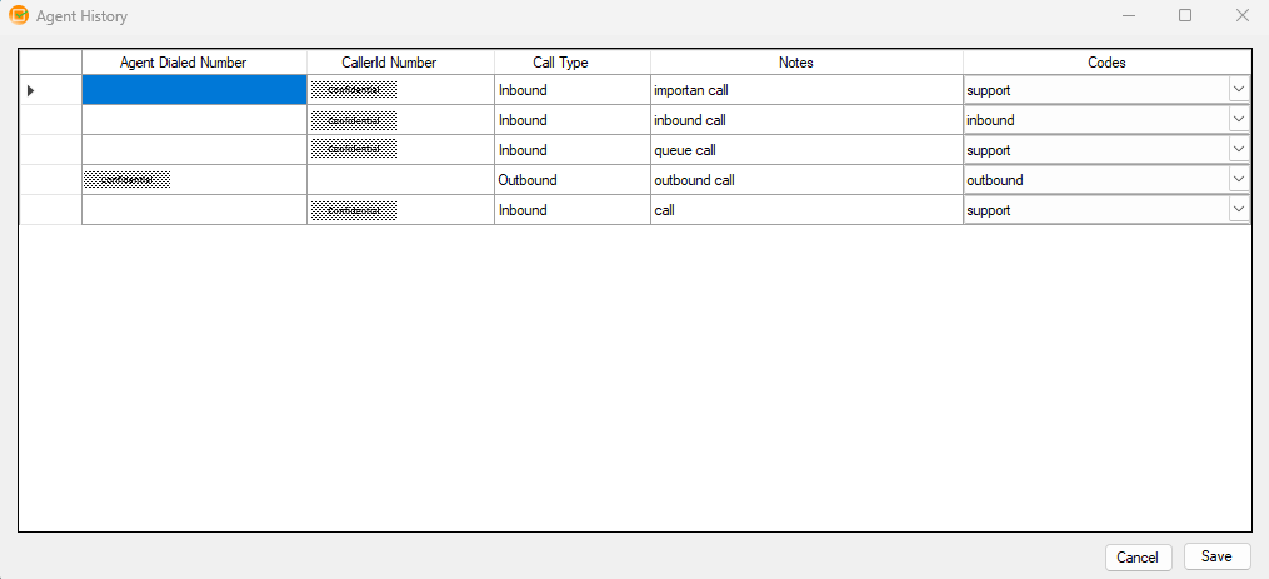
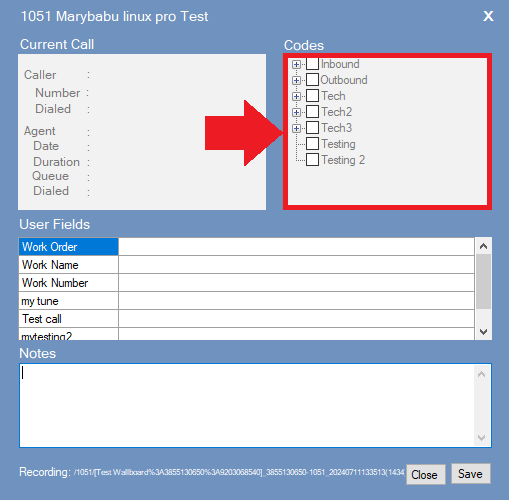
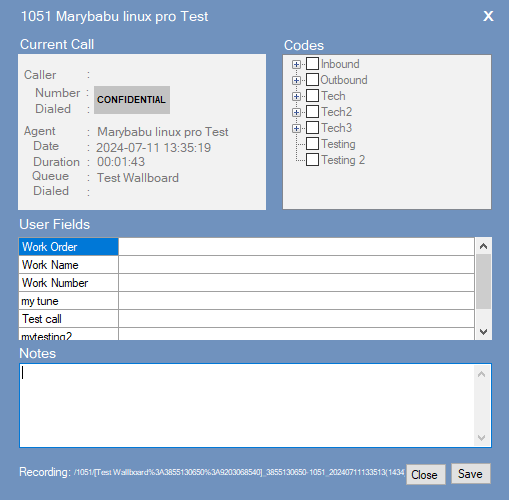
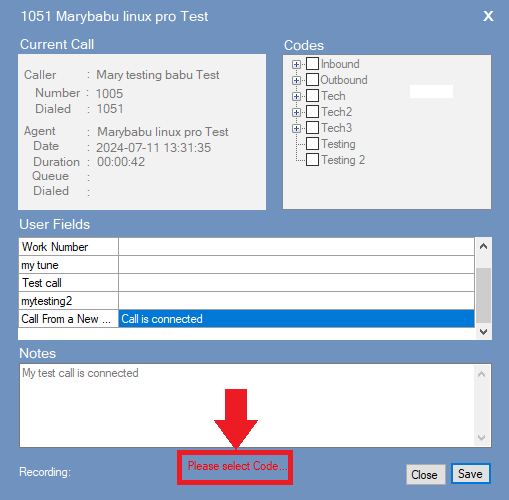
In the Wrap-up Codes dialog box, the Current Call section displays agent call details like agent name, agent extension, call time, call duration, call queue, and customer phone number.
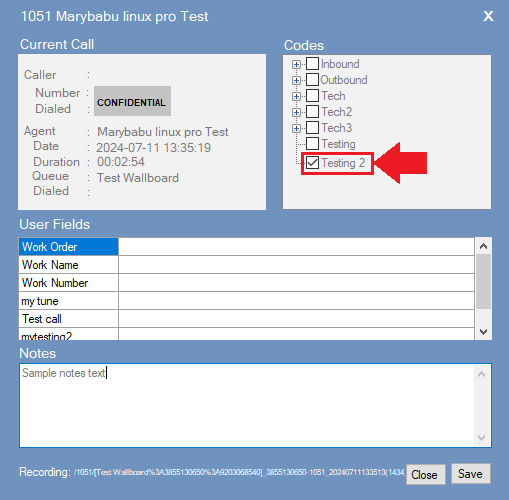
In the Codes section, select the appropriate code that best suits the call interaction.
In the Notes field, enter the notes for the call interaction.
Figure 21: Associate wrapup code to a call
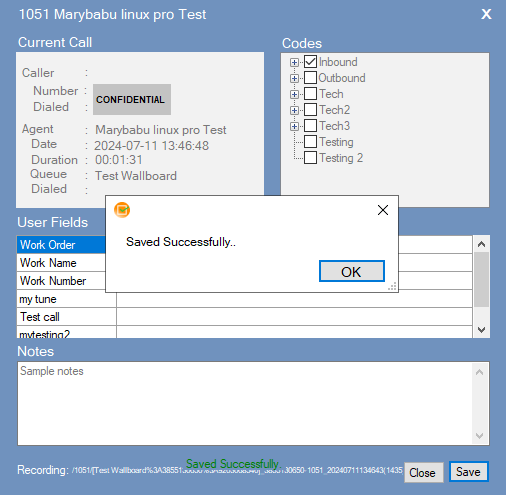
Click Save to associate the wrapup code and notes to current call. Saved Successfully message appears.
Figure 22: Message: Saved Successfully
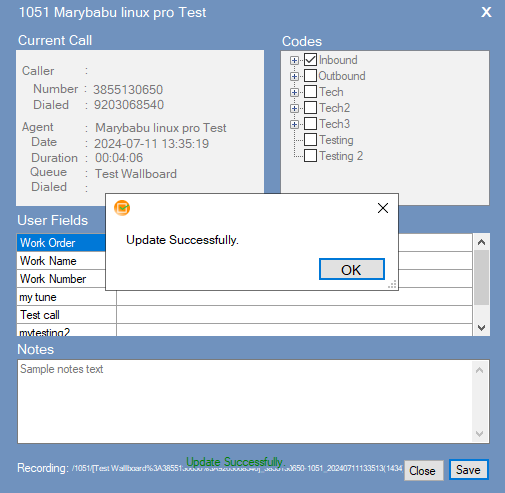
If you update and save again (without closing the ‘Wraup-up Codes’ dialog box), the Updated Successfully message appears.
Figure 23: Message: Updated Successfully
NOTE:
If you do not select any code and click on Save, the ‘3CX Wraup-Codes’ will not save the information.
Figure 24: Error Message: Please Select Code
NOTE:
The call interaction data which you update and save in client application will be reflected in the ‘Reports’ tab of server application. Only users with ‘Manager’ role can access the ‘Reports’ tab
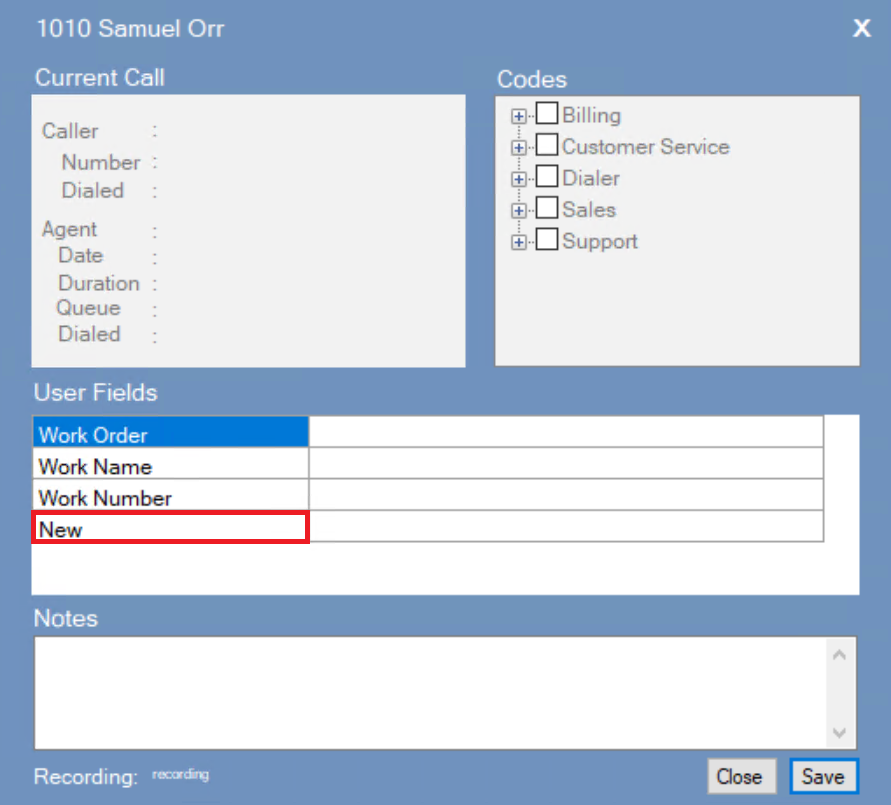
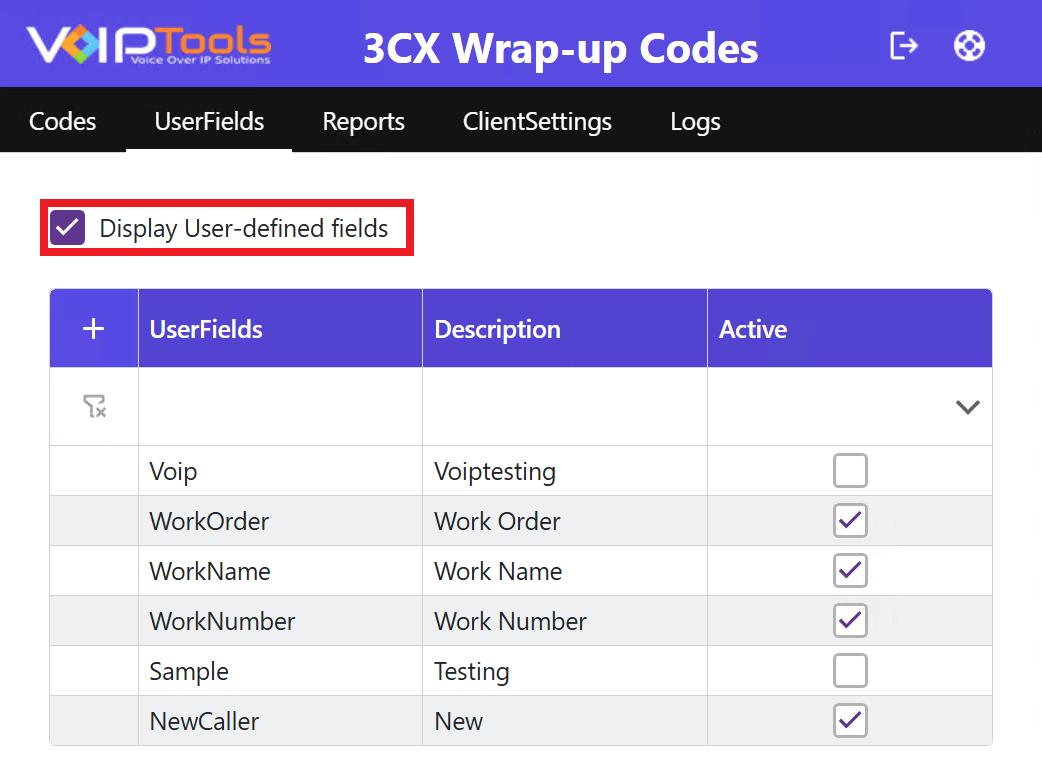
Display the User Fields in the Wrapup Codes Application: #
Follow the procedure to display your new user field in the Reports Tab and the WrapUp Codes Client Application,
Select the Display User Defined Fields checkbox.
Figure 25: Display User Defined Fields Checkbox
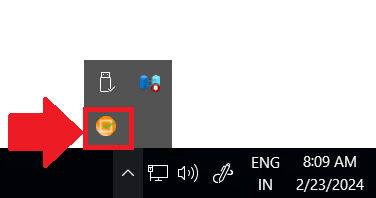
On the right-hand side of the Windows taskbar, in the notification area, click to open the system tray and view the 3CX Wrapup Codes icon.
During a call you can add notes to your user fields. These notes gets displayed in the Reports tab in the 3CX Wrapup Codes Server Application.
In the Wrapup Codes Client Application popup that appears when you receive a call, add notes beside the desired user fields.
Click the Save button to save your notes.
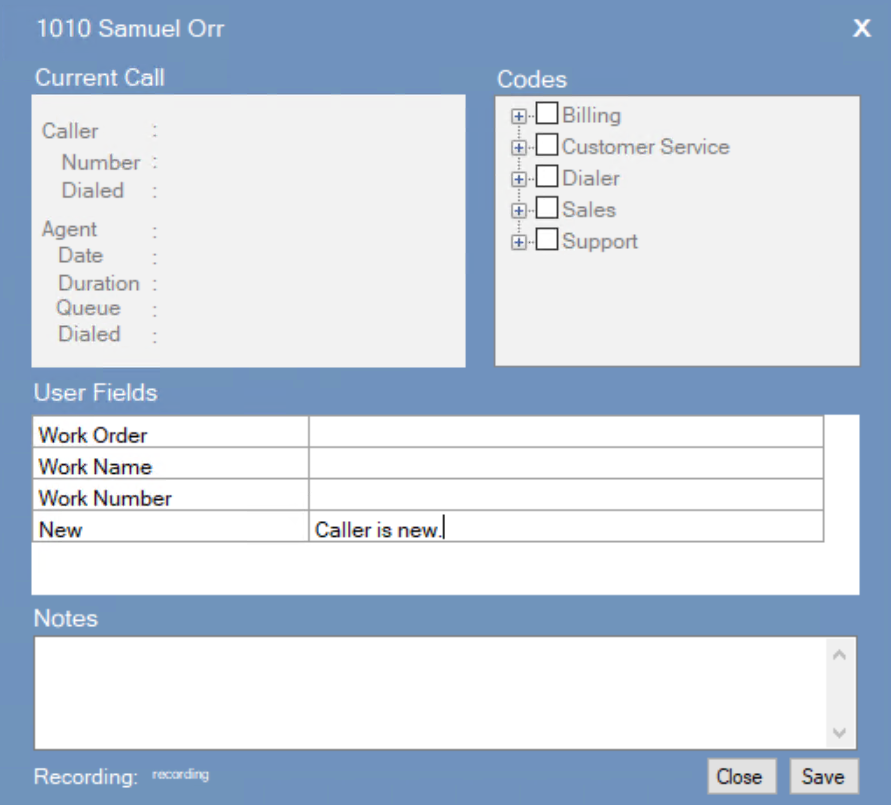
User Fields and Notes must be completed during an active call.
The input fields in the User Fields panel and the Notes text area are only editable while a call is in progress. Once the call has ended or the line is disconnected, both areas become read-only and any changes made after hang-up will not be saved or reflected in the Reports Menu on the 3CX Wrap-up Codes server.
To ensure accurate record-keeping:
Fill in all relevant User Fields (Work Order, Work Name, Work Number, etc.) before ending the call.
Enter any call Notes while the caller is still connected.
Select the appropriate wrap-up code prior to disconnecting.
Data entered after the call ends will not appear in reports. Always complete all fields before hanging up.
The Codes panel displays the available wrap-up codes the agent can assign to a call upon completion. Wrap-up codes categorize the nature or outcome of each call, helping supervisors track call activity, generate accurate reports, and monitor team performance.
Code
Purpose
Billing
Assign to calls involving payment inquiries, invoice disputes, charges, or any billing-related matter.
Customer Service
Use for general service requests, complaints, follow-ups, or any non-specialized customer interaction.
Dialer
Indicates the call was initiated through an automated or power dialer campaign.
Sales
Apply to calls involving product inquiries, purchase requests, upselling, or sales-related conversations.
Support
Use for calls where the customer required technical assistance, troubleshooting, or problem resolution.
Note: Select the code that most accurately reflects the primary purpose of the call. Accurate code selection directly impacts reporting and call quality analysis.


NOTE:
 button to download your application.
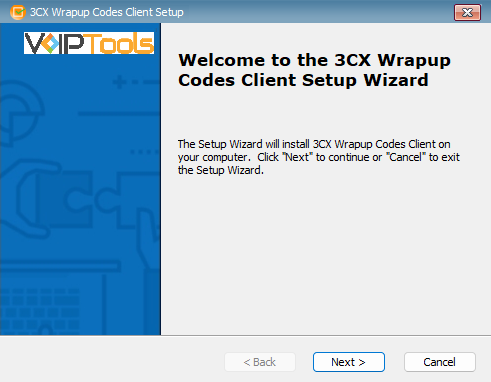

 button to refresh the application.