Enhance emergency notifications with 3CX Emergency Notifier Alert
Take control of emergency notifications with 3CX Emergency Notifier Alert. Use this add‑on to send alerts, emails, and SMS messages automatically when an emergency number is dialed, ensuring the right people are notified quickly and reliably.
Getting started is simple. Log in using your extension and voicemail PIN, verify your contact details, and run a quick test to confirm that notifications are delivered. In just minutes, you’ll have a dependable system that alerts key responders whenever an emergency call is placed. 3CX Emergency Notifier Alert helps you act faster, stay informed, and maintain peace of mind during critical moments.
Quickly notify the right people through email, SMS, or phone calls to ensure fast and reliable communication during critical moments.
REAL-TIME PRECISION
Receive precise location details during emergencies, including floor level, nearby areas, or specific zones, helping responders act faster and more accurately.
SEAMLESS DISPATCH
Guide responders directly to the correct location using accurate mapping and extension data for faster and more effective emergency response.
INSTANT EMERGENCY ALERT
Trigger emergency alerts instantly with a single button press. Activate or deactivate alerts easily while maintaining full control through a simple and user friendly interface.
ENHANCED INSIGHTS
Review detailed event logs to understand what happened, who was notified, and when. These insights help improve preparedness and future response planning.
ONE TIME INSTALLATION
Get up and running quickly with a straightforward installation process. Manage everything from an intuitive web portal designed for ease of use and long term reliability.
Download the setup application from the VoIPTools website or you can find the download link in the Order Confirmation Email.
INSTALL PREREQUISITES
You must install several prerequisites before installing the 3CX Emergency Notifier. The Advanced Installer identifies and installs these applications automatically. Click here to learn about the required prerequisites.
INSTALL 3CX EMERGENCY NOTIFIER
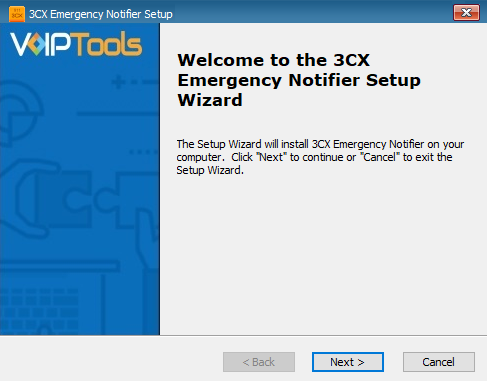
This guide walks you through installing 3CX Emergency Notifier. Start by extracting the downloaded ZIP file, then run EmergencyNotifierInstaller.exe to begin setup.
Click on the software installer downloaded in Step 1. The installation wizard will automatically identify the prerequisites and assist you with each installation required for the 3CX Emergency Notifier. It includes .NET Framework (Web Installer), SQL Server Express (Web Installer), and SQL Server Management Studio.
Click the downloaded installer executable to launch the Prerequisites Setup Wizard and click Next.
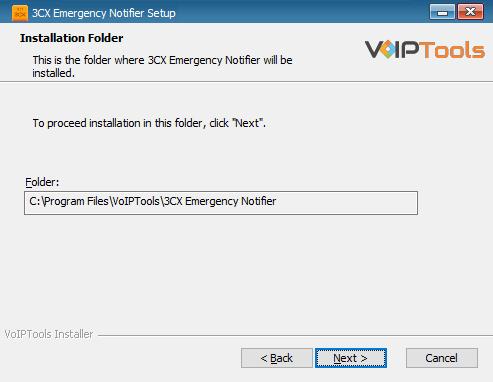
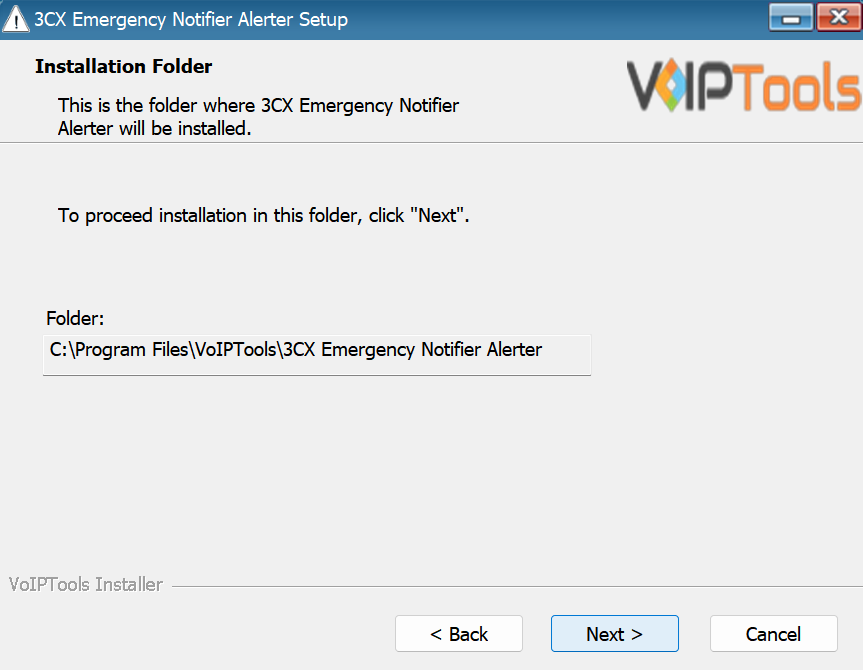
View the Installation folder in the Installation Folder window. You cannot change the installation path. Then click Next.
Figure 5: Installation Completed Page
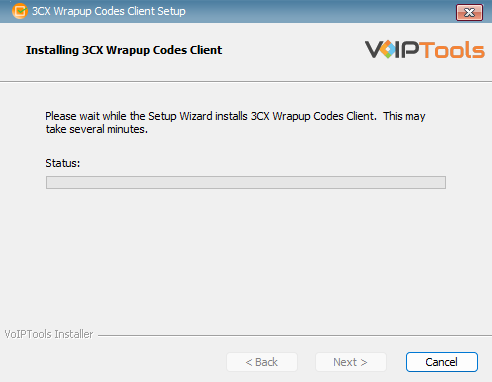
The application installation progresses. This may take several minutes to complete.
Figure 6: Installation of ‘3CX Emergency Notifier Alerter’ in Progress
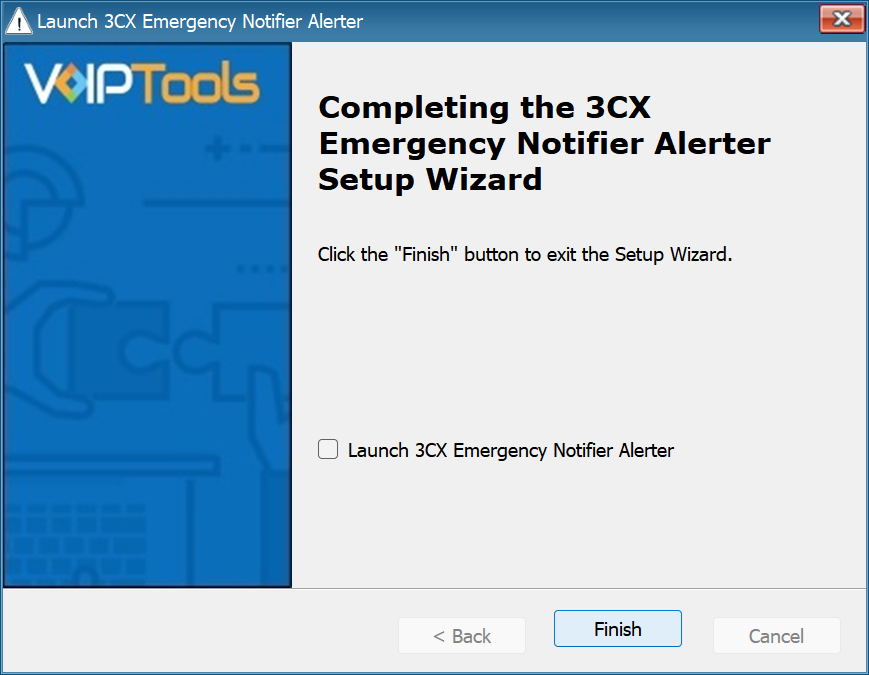
Once the installation is complete, check Launch 3CX Emergency Notifier Alerter check box and then click Finish.
Figure 7: Installation Completed Page
Step 8: Check for default data in the database server #
To verify if you have successfully installed the 3CX Emergency Notifier application, log into the database and check for default data in the basic tables.
Log into the SQL database.
In the Object Explorer accordion, expand Databases and then expand Tables
From the tables list
Open dbo.EmergencyNumbers table to see the emergency contact number “911”
Open dbo.Messages table to see message type for the emergency number as Email, SMS and Email Subject.
Open dbo.NotificationSettings table to see the emergency contact number “911”
Open dbo.Settings table to see the default database settings.
Step 9: Installing the Desktop Alert Application #
In addition to sending emergency notifications by phone, email, and SMS text, you can also receive notifications on your desktop.
The following instructions outline how to install the desktop notification application:
NOTE:
Before you launch the application, you must ensure Microsoft .Net Framework 4.6.1 (x86 and x64) is installed in your device. If the above component is already installed, you can launch the application. Otherwise, follow the instructions as outlined below to install the component.
The Desktop Notifications application receives events and client software updates from the VoIPTools server. You will need to configure your public facing and Windows firewalls to open ports 5600 TCP and 5610 TCP.
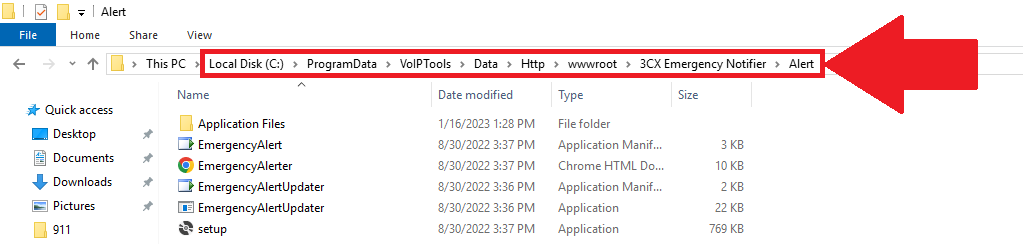
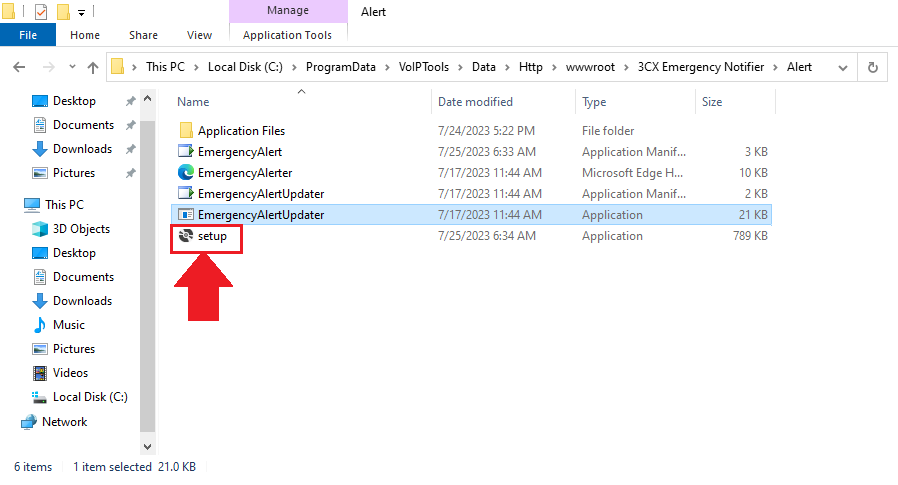
In the File Explorer, navigate to C:\\ProgramData\VoIPTools\Data\Http\wwwroot\3CX Emergency Notifier\Alert
Figure 8: Navigate to ‘3CX Emergency Notifier Alert’
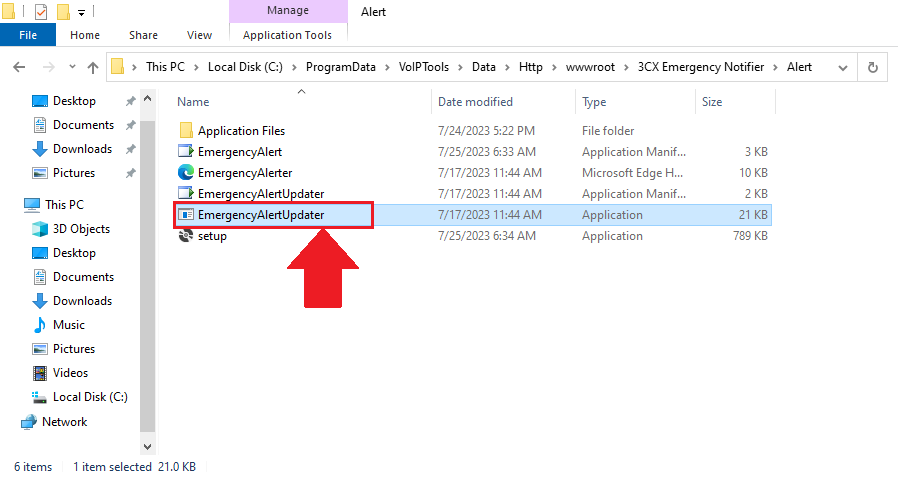
Double-click EmergencyAlertUpdater to display Emergency Alert URLUpdate popup.
Figure 9: Emergency Notifier Setup
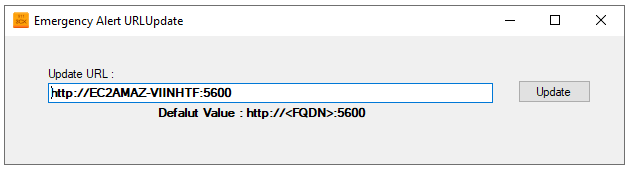
In the Emergency Alert URLUpdate popup, enter your URL in the format http://localhost:5600/Alert/EmergencyAlerter.htm and click Update.
Figure 10: Update the URL
NOTE:
It is important that your FQDN resolve to an IP address that is accessible by your client workstations. If, for example, your VoIPTools server is hosted in the cloud, the FQDN should resolve to the public IP address of your VoIPTools server. It may be necessary to update your DNS, or you can update the workstation’s Host file to map the FQDN to an accessible IP address.
To access the folder, ‘3CX Emergency Notifier’ ensure that you have full admin rights.
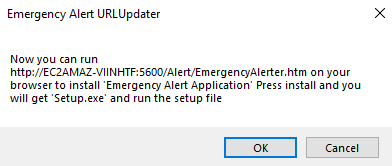
In the Emergency Alert Application Update URL popup, click OK.
Figure 11: URL to Install Prerequisites
Double-click the Setup application.
Figure 12: Setup Application
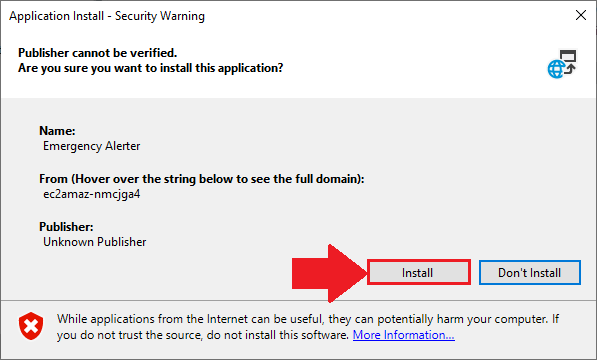
In the Application Install screen, click the Install button to start the installation.
Figure 13: Install Button
The application starts to install. This may take a few minutes to install.
Figure 14: Installation in Progress
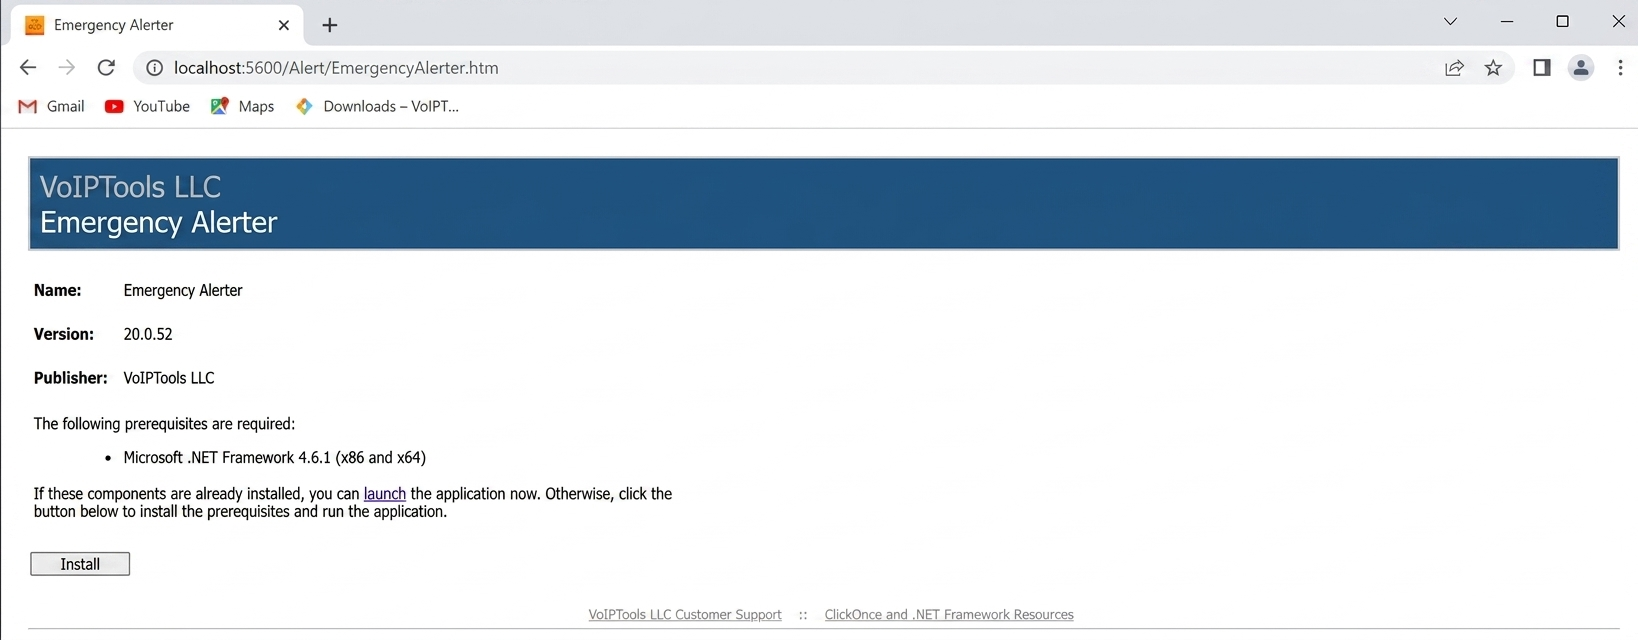
Open the web browser and in the address bar enter the following URL,
http://localhost:5600/Alert/EmergencyAlerter.htm
NOTE:
Replace with your local host value in the place of URL mentioned above.
The following web page appears:
Figure 15: Install Prerequisites
Click Install to install the prerequisites.
On the taskbar and in the notification area, click the Show Hidden Icons icon to display notification area overflow
Figure 16: Show Hidden Icons: Notification Area Overflow
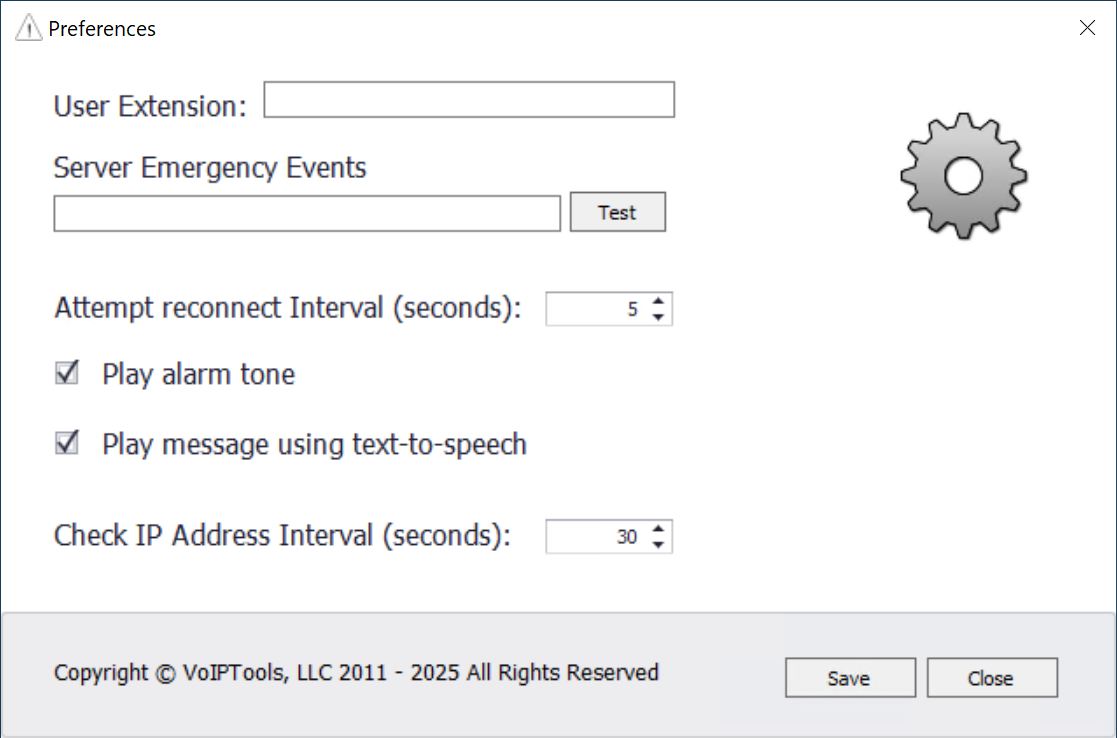
In the notification area overflow, right-click on the Emergency Alerts icon and in the right click menu, click Preferences.
Figure 17: Notification Area Overflow: Emergency Alerts – Preferences
In the Preferences screen and in the Server URL field, enter the URL:
NOTE:
In the URL mentioned above, replace it with your FQDN value.
You must enter /signalr at the end of the URL.
Figure 18: Server URL
Click Save to save the url and then click Close to close the Preferences screen.
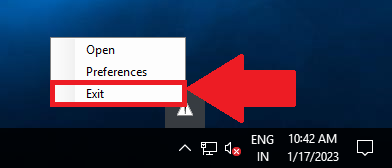
In the notification area overflow, right-click on the Emergency Alertsicon and in the right click menu, click Exit to exit from the Emergency Alerts.
Figure 19: Notification Area Overflow: Emergency Alerts – Exit
On the desktop, click the 3CX Emergency Notifier icon to launch the application.
NOTE:
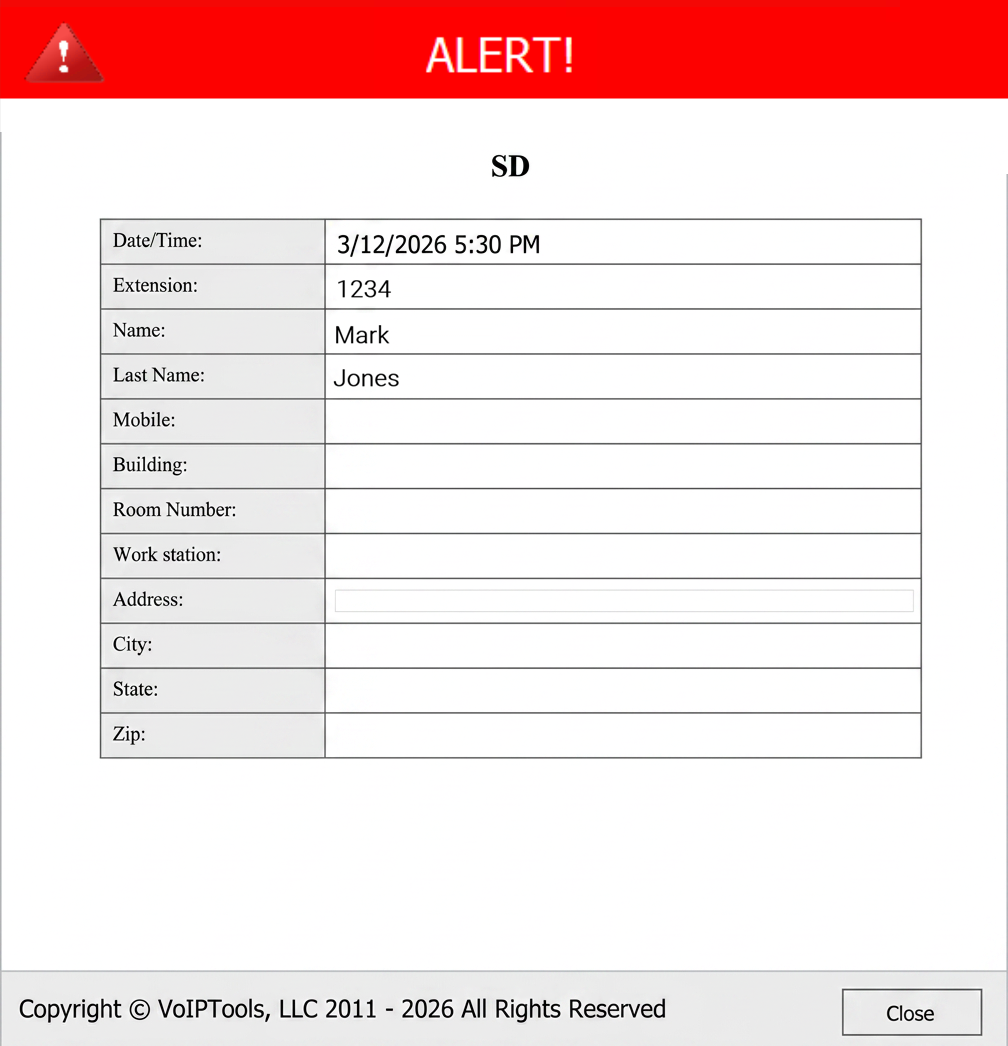
Emergency Notifier gives you an desktop alert whenever you recieve a call to the emergency number. The ALERT popup has the following details,
Click the 3CX Emergency Notifier desktop icon to launch the web application.
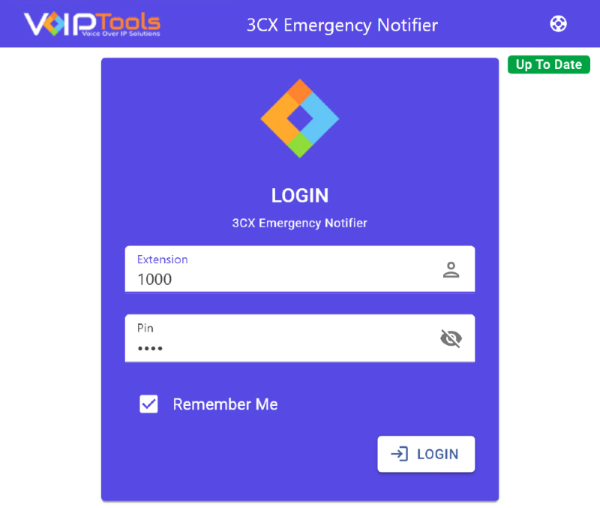
On the Login page, do the following tasks,
In the Extension field, enter your 3CX extension number.
In the PIN field, enter your 3CX voicemail PIN.
Click the Login button to log in to your account.
Figure 20: 3CX Emergency Notifier Web Portal Login
NOTE:
You can login only as a Manager in 3CX Emergency Notifier.
After logging in, you can use the Emergency Notifier web interface to manage recipients, alerts, and delivery methods. For detailed configuration of dispatch, mapping, and full emergency workflows, refer to the Emergency Notifier V20 manual.” voiptools


 button to download your application.
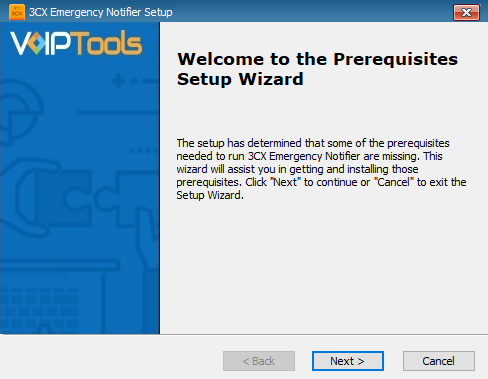
NOTE:


 icon to display notification area overflow
 Emergency Alerts icon and in the right click menu, click Preferences.
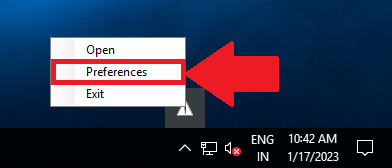
 icon to launch the application.