Introduction #
The VoIPTools Relay is a software application that enables remote applications to communicate with the 3CX Call Control API. Applications can send requests to 3CX using our REST API, or subscribe to real-time 3CX events using our “events” API.

NOTE:
The Relay is the only VoIPTools application that is installed directly on the 3CX server. All other VoIPTools applications must be installed on a separate server.
What’s new? JWT! #
The VoIPTools Relay is a software application that enables remote applications to communicate with the 3CX Call Control API. Applications can send requests to 3CX using our REST API, or subscribe to real-time 3CX events using our “events” API.
NOTE:
Want more information about how we use JWT? Take a look at our prerecorded JWT webinar here
Prerequisites #
| Firewall | To enable our tools to remotely communicate with the Relay, you will need to open (port forward) TCP 8801 on your firewall, pointing to the 3CX server. If you use the built-in Windows firewall, the setup program will attempt to open port 8801 for you. If you use a different firewall or select a different port, you will need to configure your firewall to provide remote access to the Relay. |
| Notify Manager Access | Ensure that your firewall does not block access to the registration service located at keymanagerV3.voiptools.com:82. The relay must maintain uninterrupted access to this URL to receive notifications and successfully register your license key. |
Installing the 3CX Relay for Windows #
The only application you install directly on the 3CX server is the Relay. The Relay makes it possible for our tools to communicate with the 3CX Call Control API. The remainder of our tools are always installed on a separate Windows server.
- Download the Windows Relay installer from the VoIPTools website here.
- Double-click on the downloaded installer to start the installation process.
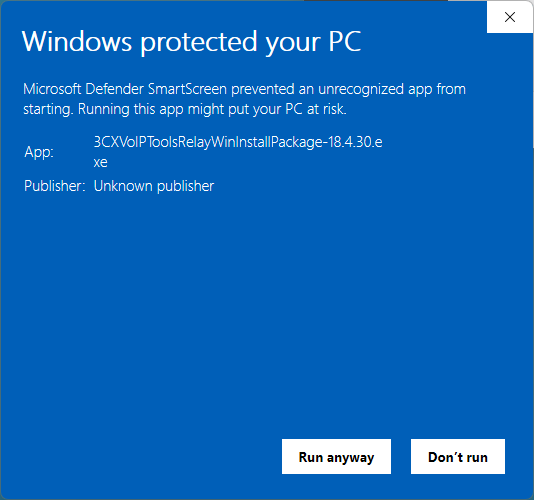
- Click on the “More info” link
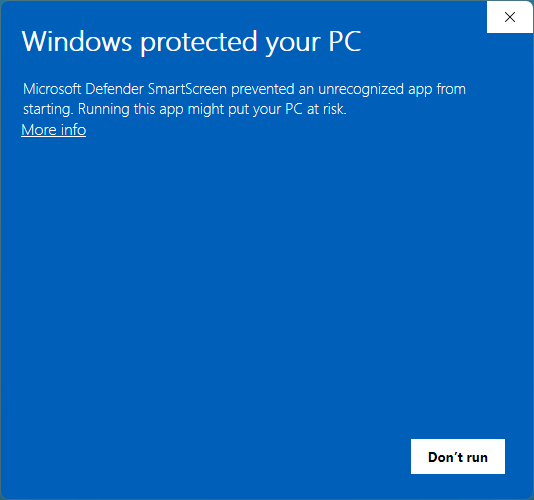
- Press the Run Anyway button to continue the installation.
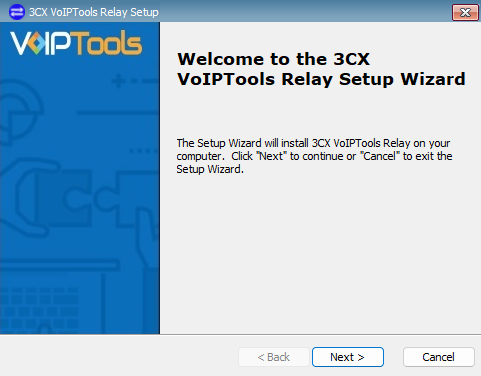
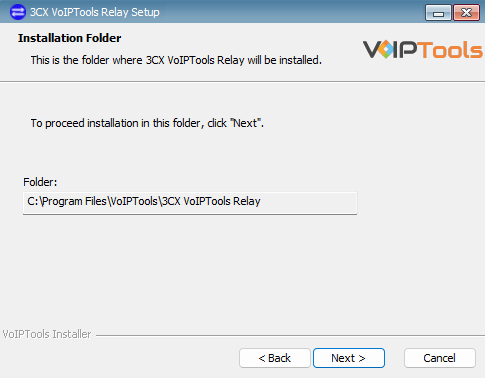
- Press “Next” to continue the installation process
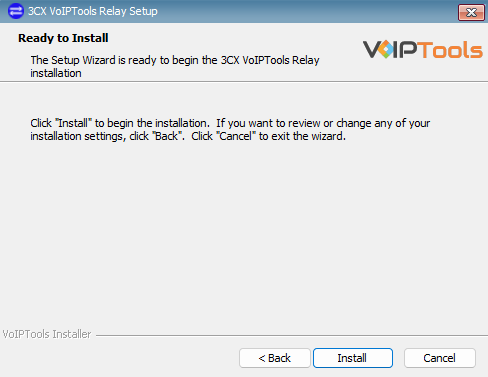
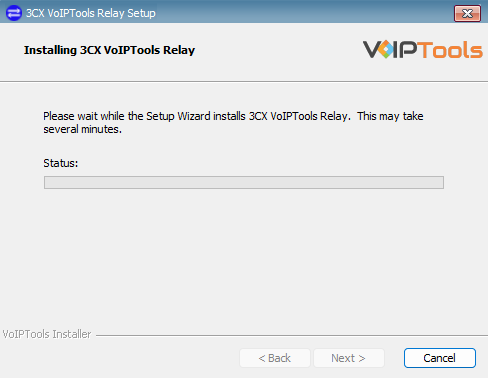
- Press “Install” to begin the install process.
- Press “Next” to continue
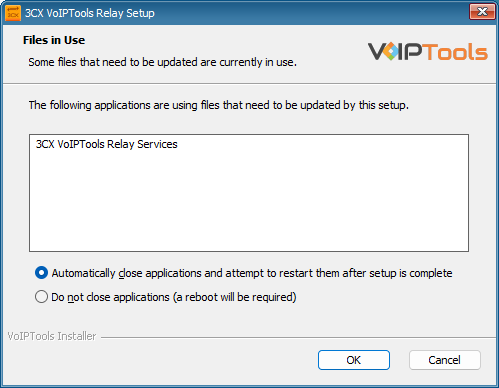
If you are upgrading a previous version of the Relay, you may see the following screen:
- Select to close the applications and press “OK automatically”.
- Press the “Finish” button to complete the installation of the Relay.

Relay Login #
To access the Relay, you can log in with either your 3CX Administrator credentials or with any 3CX extension that has 3CX System Admin rights. To log in with an extension, use your 3CX extension number and WEB password.
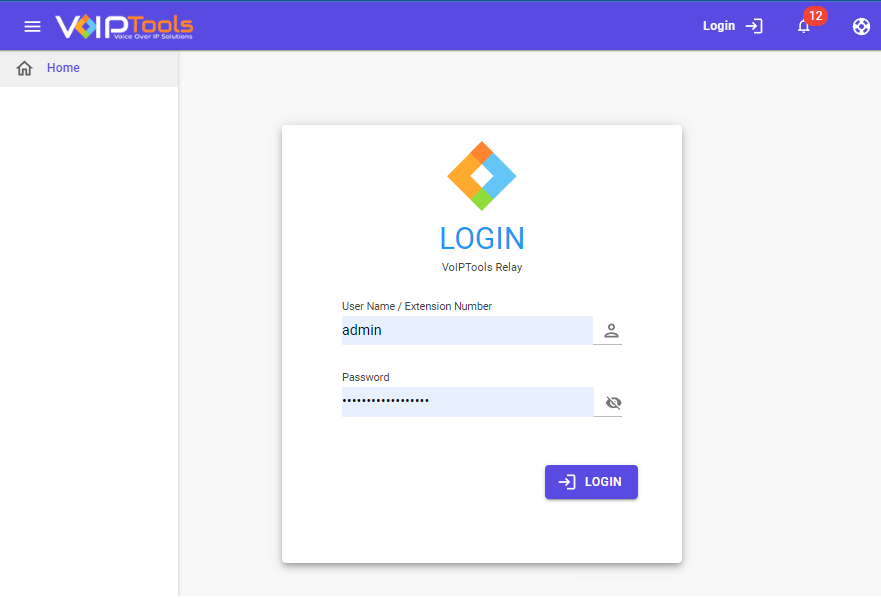
You can obtain your web password by editing your extension in the 3CX web console.
You are permitted 3 attempts to log in to the Relay console successfully. After 3 unsuccessful attempts, the Relay console will be locked FOR ALL USERS for the next 15 minutes.
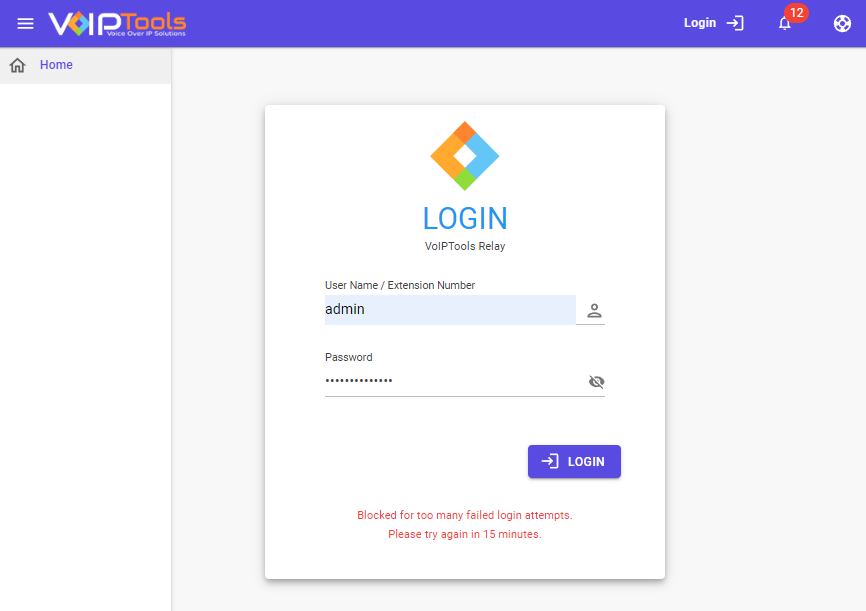
The only way to clear a failed login before the 15 minute is to restart the relay service manually.
License Registration #
As the relay starts for the first time, it currently displays Free Mode since it has not yet had the chance to validate the license key,
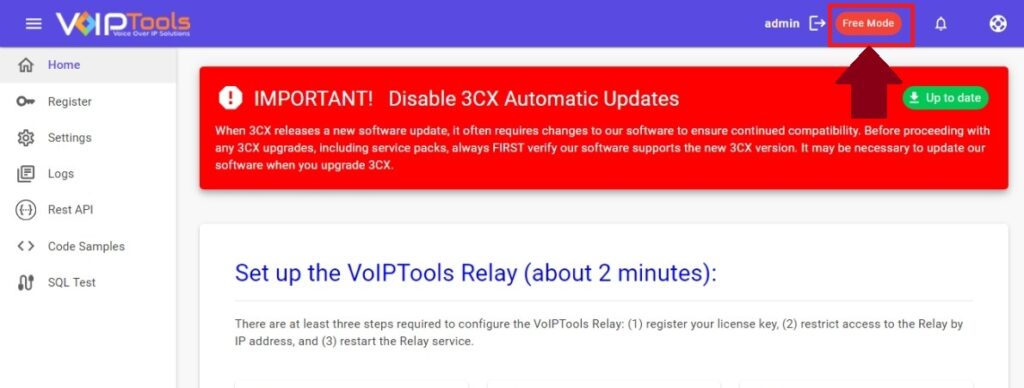
To ensure the authorization of your license key, it is necessary to complete the registration process. By registering with VoIPTools, you gain access to a range of benefits:
| Key Replacement Assistance | In the unfortunate event of a lost license key, registering with VoIPTools lets us provide you with a replacement key promptly. |
| Product Updates and Reminders | By registering, you will receive timely notifications from VoIPTools regarding any product updates. Additionally, we will send reminders when your key is nearing its renewal date, ensuring uninterrupted access to our services. |
The existing licensing information will be preserved if you previously registered your Relay. Follow the procedure if you are registering the relay for the first time,
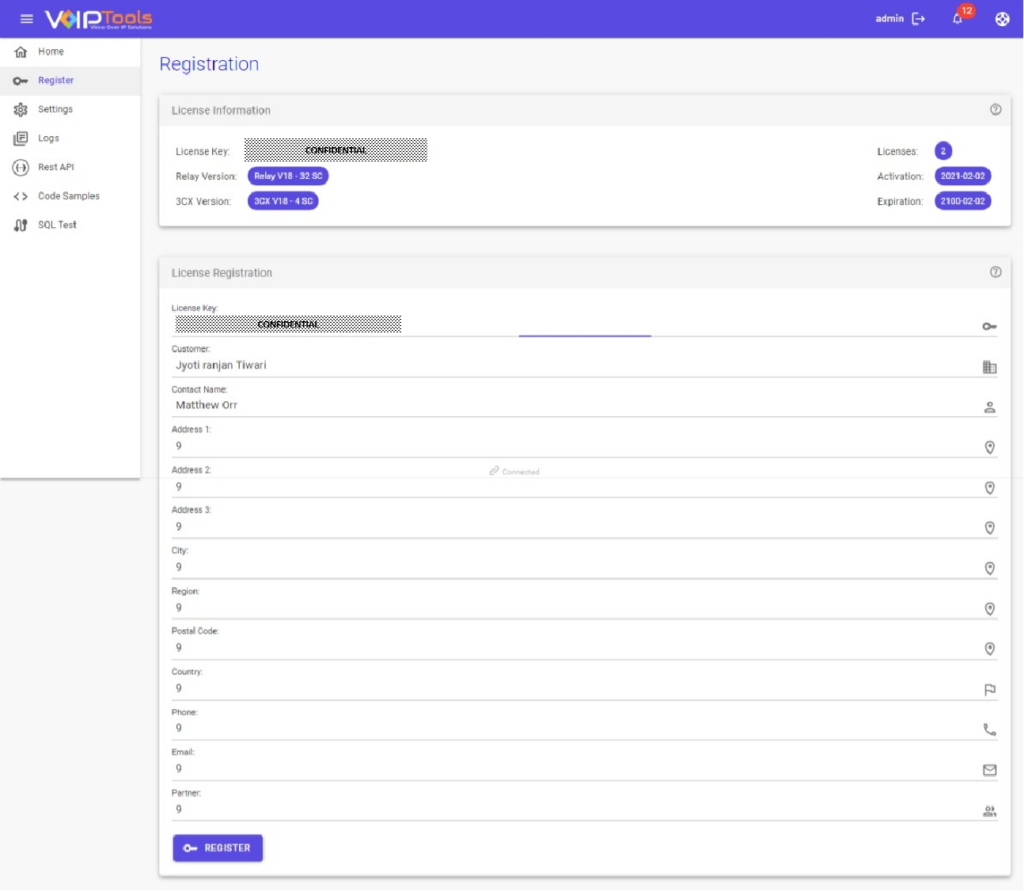
- In the left side panel, select the Register
 option.
 - Enter your license key in the License Key field.
- In the Contact Name field enter the end-user (customer). include the Reseller company name if purchased through a 3CX Reseller.
- Click the Register button to complete your registration.
- If you do not have a license key, you can still use our free tools. To access the Relay API, you must register with a valid license key.
When registering your license key, . When complete, press the “Register” button to activate your license key. It is not necessary to restart the Relay after registering your key.
Relay Overview: #
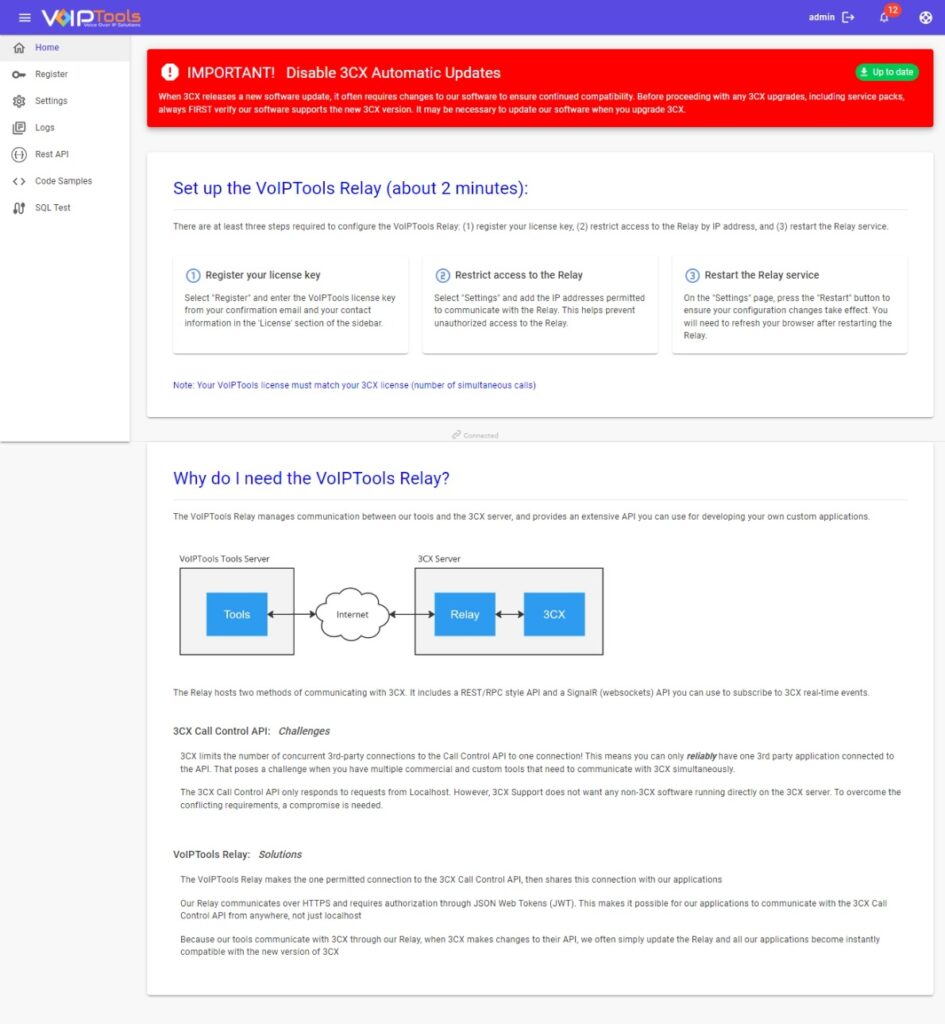
The following figure provides you with an overview of the Relay web application.
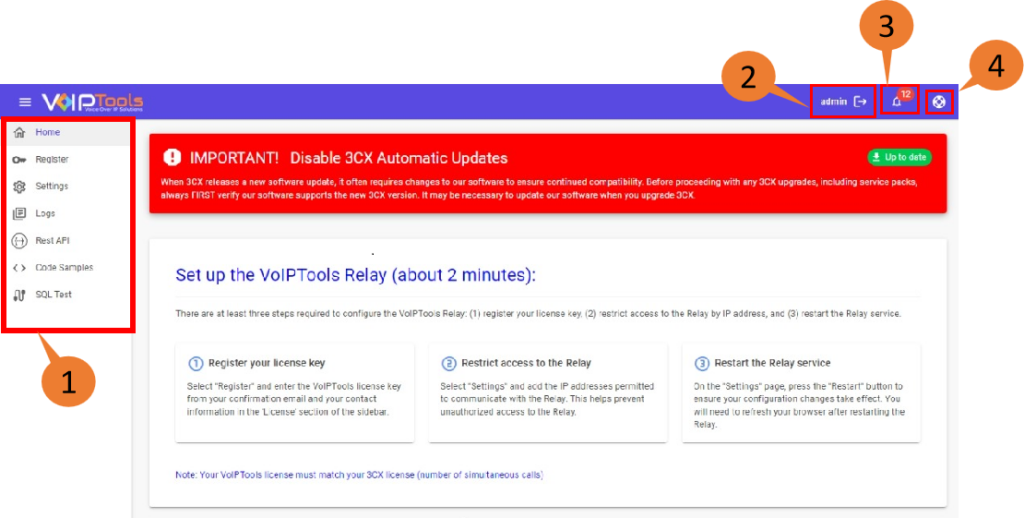
 | Left Side Panel | Here you can choose the option to configure your relay. |
 | Logout button | You can see the notifications from the Notify Manager application. |
 | Notifications button | You can see the notifications from the Notify Manger application. |
 | About Button | Click this button to open the About page. |
Home Screen: #
On the Home screen, you can do the following tasks,
- Upgrade the VoIPTools Relay to make sure it is compatible with the latest 3CX version.
- Learn how to set up the relay.
- Know the reasons to have VoIPTools Relay in the first place.
Settings Screen: #
The Services screen is used to configure how the Relay functions. This includes setting the protocol (HTTPS), the IP address the webserver will bind to, and the TCP port number. The IP whitelist is maintained on this screen, and you can turn on/off monitored events as well as the Swagger (Open API) documentation.
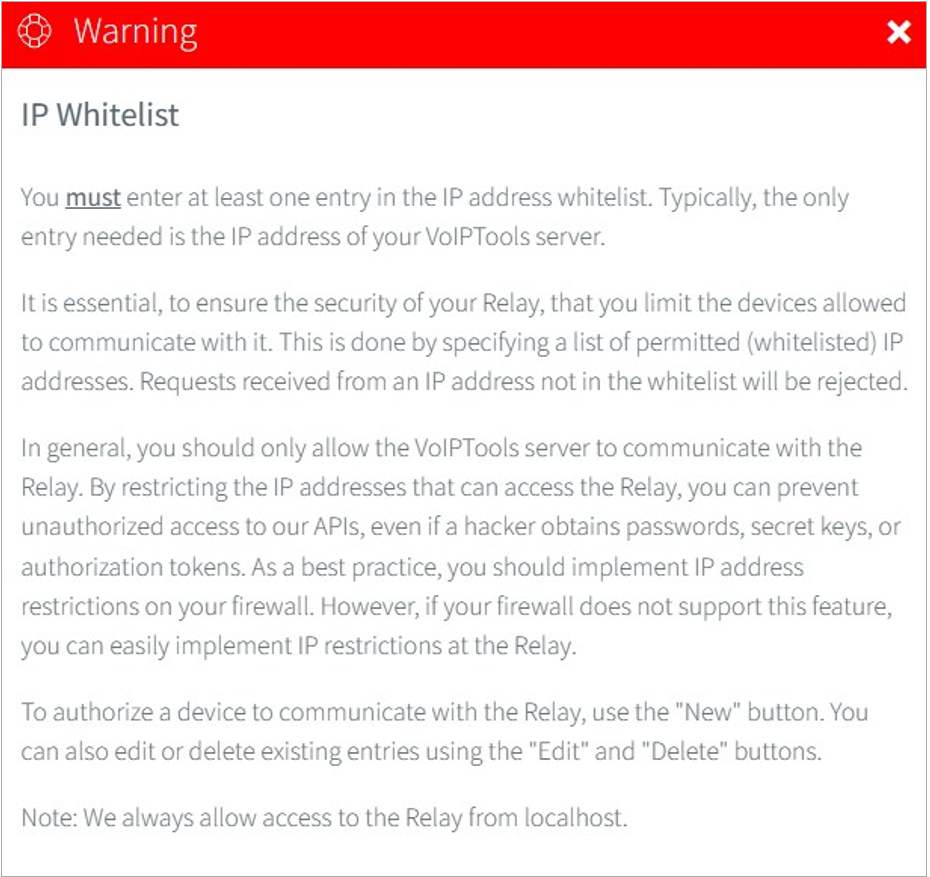
Warning Popup: #
The Warning popup displays immediately when you open the Services menu. You must enter at least one entry in the IP address whitelist. Typically, the only entry needed is the IP address of your VoIPTools server. It is essential, to ensure the security of your Relay, that you limit the devices allowed to communicate with it. This is done by specifying a list of permitted (whitelisted) IP addresses. Requests received from an IP address, not in the whitelist will be rejected.
Click here to learn how to add an IP address to the Whitelist.
Web Server Bindings #

The Relay’s built-in web server (Kestrel) only binds to IP addresses, not to domain names (with a few exceptions). You can use “*” to represent 0.0.0.0, or “localhost” to represent 127.0.0.1. You can also specify IPV6 addresses. You cannot use a FQDN like “pbx.mydomain.com”. Each URL should be separated by a comma.
Typically, it is not necessary to change the default setting. If you make changes to the server bindings, a restart of the Relay may be required.
Restarting the Relay during production hours will temporarily stop the sending of events to client applications. Use wisdom when choosing a time to restart the Relay.
Access to the Relay is always permitted from localhost. We do not support configuring IP ranges. You must enter at least one IP address in the whitelist.
Below is the recommended setting:
https://0.0.0.0:8801IP Whitelist #
Follow the steps to add an IP to the IP Whitelist,
- In the IP Restriction section, click the New option.

- Enter the IP address in the IP Address field and click the Update option.
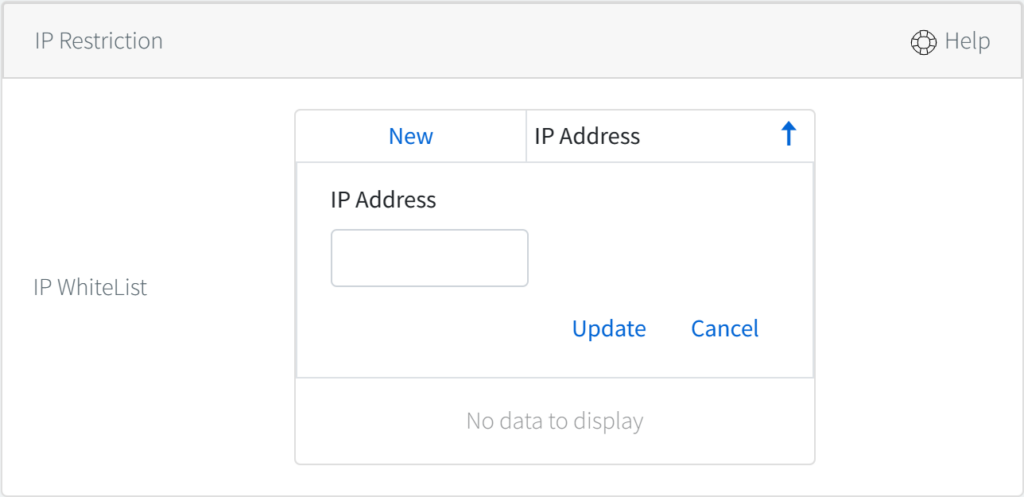
You must enter the IP address of your VoIPTools server in the IP Address field.
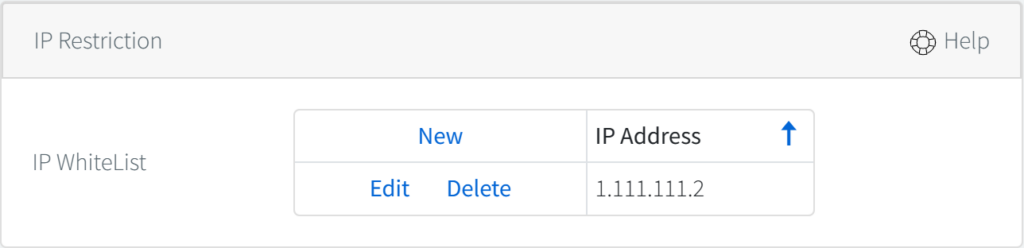
In most cases, the only device that needs to communicate with the Relay is the Windows server where your VoIPTools applications are installed. We recommend configuring your parameter firewall to reject requests from any other IP address. However, if your firewall does not support this feature, you can easily block access to the Relay using the IP Whitelist.
The Relay IP Whitelist setting is used to identify the computers that are permitted to communicate with the Relay. Requests from any other computer (IP address) will be rejected.
Certificates: #
Web server certificates encrypt data transmitted between clients and servers, ensuring secure communication, verifying server identity, and preventing unauthorized access. Web server certificates use encryption algorithms to secure data exchanged between clients and servers, validating server identity and ensuring confidentiality, integrity, and authenticity. Automated updates ensure timely certificate renewal, reducing manual effort, minimizing downtime, and enhancing security by preventing expired or invalid certificates.

Authorization (JWT) #
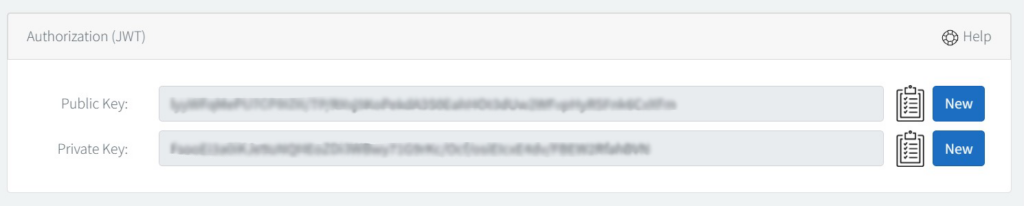
To implement JWT authorization, two keys are required:
- The Private Secret Key is only needed by the Relay. It serves to verify the public key submitted by the client.
- The Public Key is used by client applications when requesting a new token.
The secret keys are autogenerated the first time you install the JWT version of the Relay. Typically, it is not necessary to generate new keys. However, if you choose to generate a new public key, the client applications will need to be updated.
You can copy the keys by clicking the Copy ![]() icon.
icon.
Automatic software updates #

The Relay Auto-Update service checks for software updates daily. If an update is found, the service will download the latest available Relay and install the update.
You can enter the hour and minute that the service checks for updates. Pressing the “Start” button saves your settings and starts the service. To disable the service, simply press the button to stop the service.
The “Hour” field assumes a 24-hour clock. For example, to configure the service to perform updates at 5:00 P.M., enter 17 in the hour field.Default Value: Disabled, 23:59
Enable features #
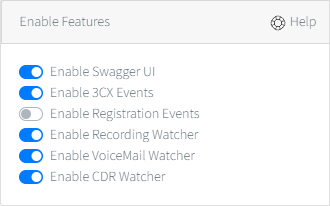
As a best practice, we recommend turning off the API (Swagger) documentation. Because you can execute APIs right from within the documentation, disabling the documentation when not in use reduces the surface area for hackers looking for vulnerabilities.
You must enable all the features except for registration events. Registration events are necessary solely when utilizing the Emergency Notifier and the Location service features. If you’re not using these specific functions in the relay, there’s no need to activate the registration events.
The Relay can “publish” 3CX events to client applications using SignalR (WebSockets under the covers). For example, the Relay can publish phone call events, presence status changes, as well as file events (new recordings, voicemails, and CDR files). These events are enabled by default but can be disabled at the recommendation of VoIPTools support if not needed by any of your installed tools. Disabling unused events will reduce the resources required by the Relay.
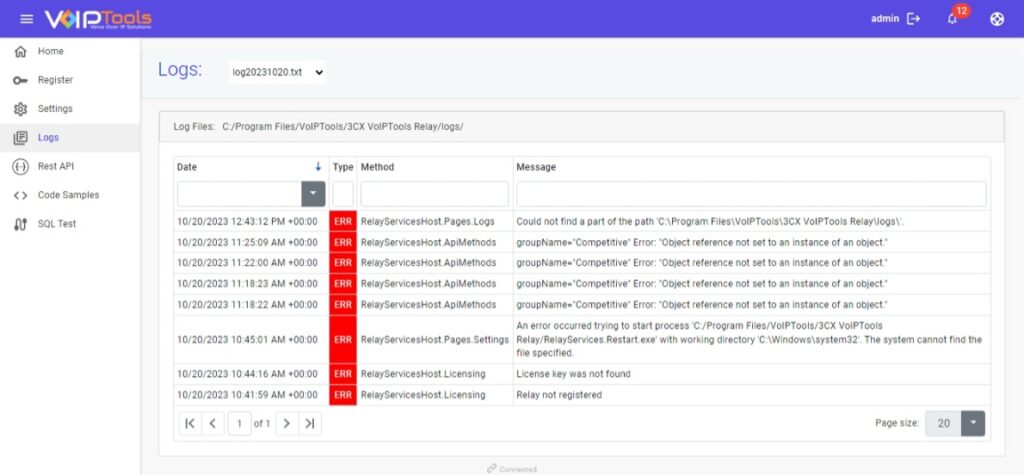
Logs Screen #
The Relay logs information about how the application is functioning. Each day a new log file is created automatically. The 7 most recent log files are kept. Older log files are deleted automatically.
To view events for a specific day, select the desired file from the Logs drop down.
Code Samples Screen #
This section provides you with sample codes. You can get these sample codes without purchasing a subscription. The relay can be installed and accessed in free mode, allowing access to the documentation. The only requirement is that you install the relay directly on a 3CX server.
Real-Time Events #
It is a C# example that specifically shows you how to connect to real-time events.
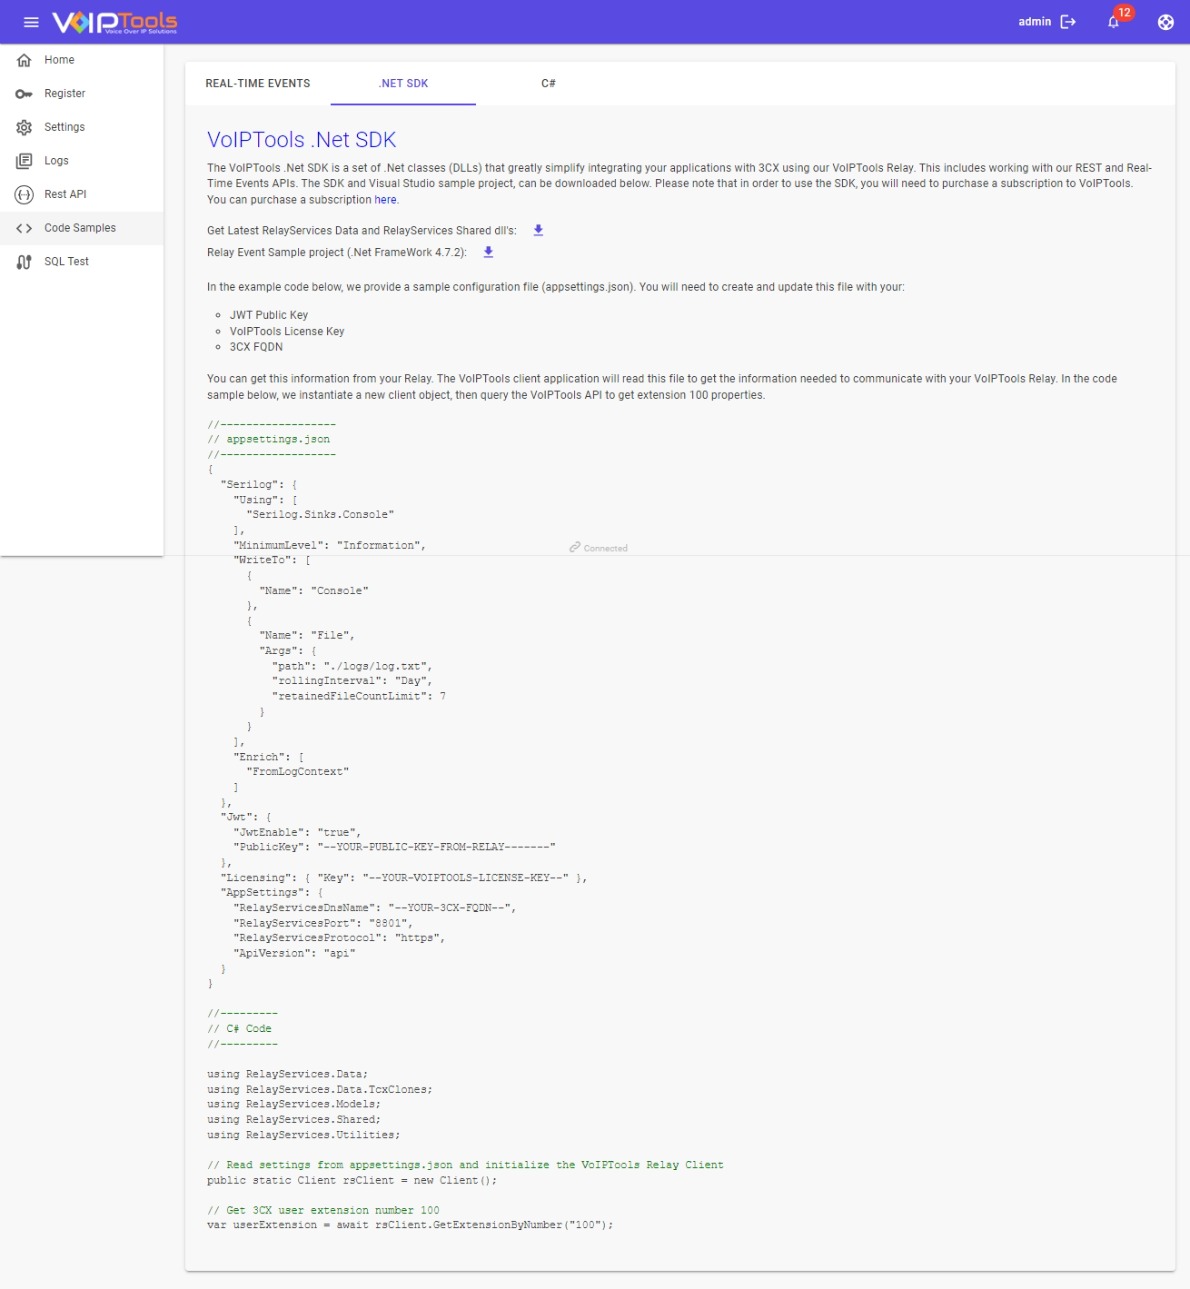
.Net SDK #
In contrast to the technical complexities involved in the process of submitting a JWT authorization token request and subsequently making a web service request to our REST relay, our approach simplifies this workflow. All you need to do is request a list of extensions, and the intricate details associated with web interfaces and tokens are hidden from view.
Here’s how it works: You set up a client, request an extension, and you won’t have to worry about the intricate steps of submitting a JWT token request, adding the token to the web request header, executing a REST API request, retrieving a JSON string, and then dealing with the conversion to an object. All of this complexity is neatly concealed.
With the help of our Software Development Kit (SDK), you can accomplish this with a single line of code. Just ask for all the information about extension 100, and it’s as simple as that.
This is the true advantage of using our SDK, a method that underpins the operation of all our applications. Our development team is liberated from the need to become experts in JWT token requests and REST API interactions because they use our SDK to streamline the software development process. The level of simplification introduced is profound, making the workflow remarkably straightforward.
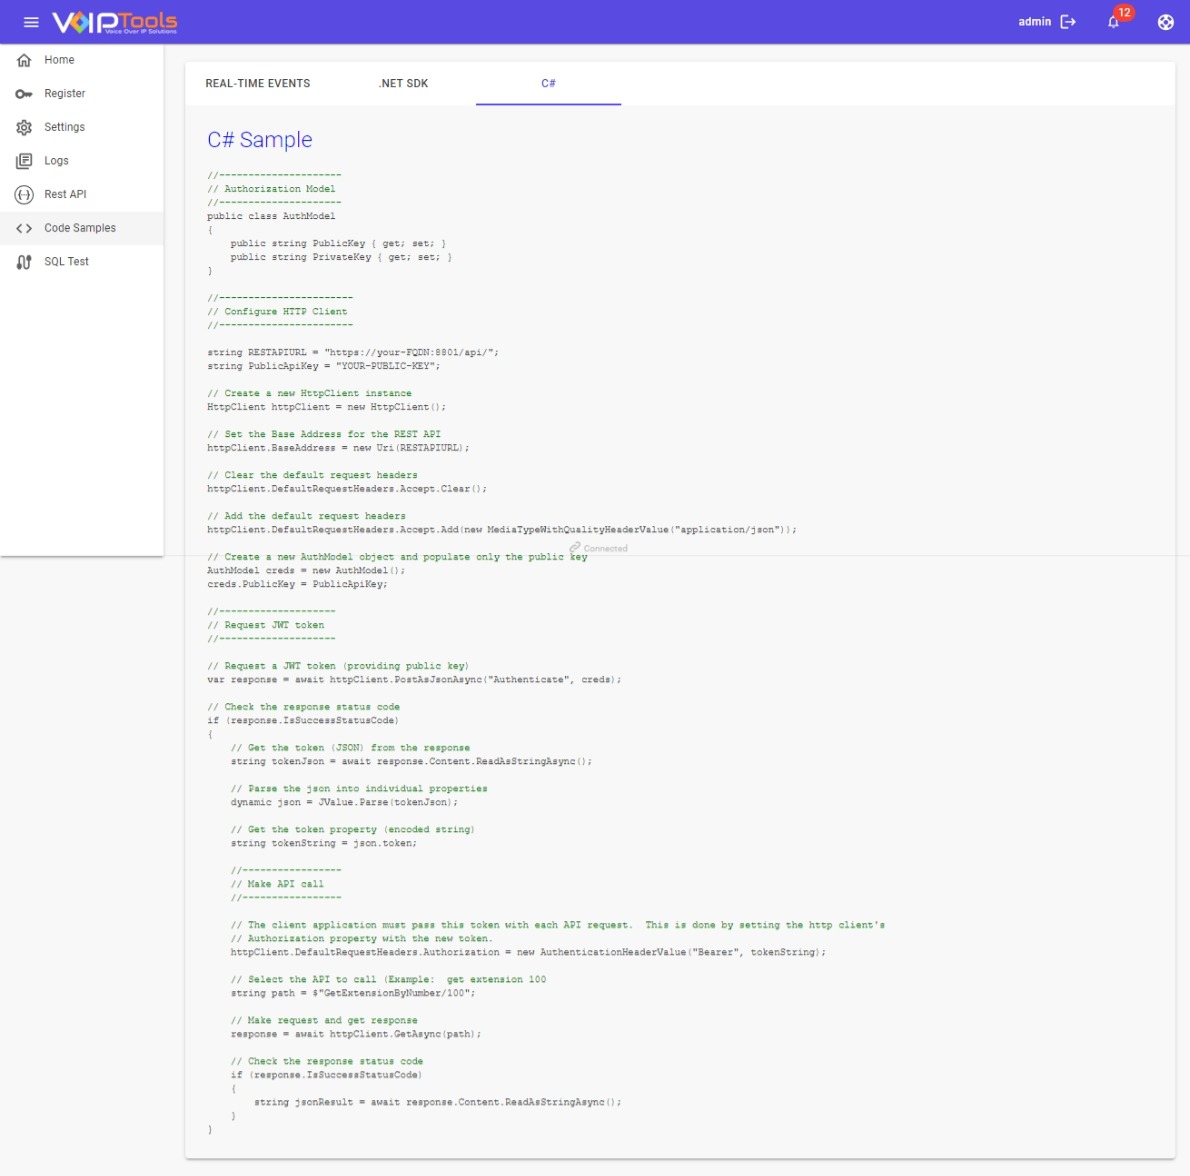
C# #
This is the procedure you’d follow if you weren’t using our SDK.
First, let’s look at how to request a JWT token:
- You initiate the process by creating a web client and configuring the web interface components.
- Subsequently, you need to request a JWT token.
As you scroll down further, you’ll notice the steps for making the REST API command. The result is a JSON string returned, and you must then manage this JSON string.
Carrying out these actions in C# can be quite intricate.
However, for those who aren’t using .NET, they might wonder how to accomplish these tasks in other programming languages. This provides them with an example of how to do so.
SQL Test Screen #
The SQL Test Screen allows you to assess connectivity between your 3CX Server and an external SQL server. This testing capability is invaluable for diagnosing issues with 3CX Call Flow Designer applications that necessitate direct interaction with a remote SQL server.

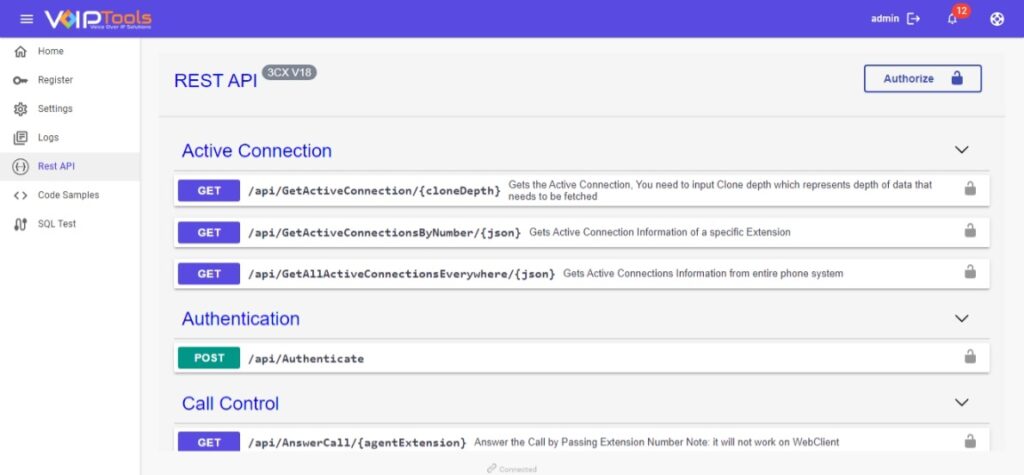
Rest API Screen #
The REST API screen offers many methods, encompassing functions like initiating phone calls, retrieving active call listings, generating extensions, modifying a user’s presence status, and more. Our auto-generated documentation, powered by Open API (Swagger), remains consistently current as it directly reflects our code, guaranteeing up-to-date reference materials.
Upgrading the Relay #
There are three ways you can upgrade the Relay:
- Enable automatic updates
- Click on the Relay version number in the upper right-hand corner of the home screen
- Manually run the setup program again.
Running the setup program again deletes the existing Relay (while preserving any settings) and downloads and installs the latest Relay.
When updating the relay, the setup program will display a warning message explaining that the previous version of the Relay and logs will be deleted. Press “y” to confirm:
Continue? [y/n]:yAPI Documentation #
The Relay includes an extensive API you can use to build your own custom 3CX integrations. In fact, all our tools use this same API to communicate with 3CX. For API documentation, expand “API Doc” from the left-hand side panel by clicking on the arrow (>).
We provide support for our APIs to the extent that we can offer suggestions on what methods are available, and how to use them. However, we will not write the application for you. If you would like our help building a custom solution, contact our Support team at Support@VoIPTools.com
SQL API #
In truth, this is not an API, rather, this is a testing tool you can use to determine whether your 3CX server can communicate with your SQL Server. This is important if you are using a 3CX Call Flow Designer (CFD) application that needs database access. To test your SQL connectivity, simple paste your SQL connection string in the field provided and press the Test Connection button.
Common problems connecting to a remote SQL Server are:
- Firewalls are blocking the required ports
- SQL is not configured to permit remote access
- The SQL Browser service is not started
Instructions for configuring SQL Server to permit remote connections can be found
Events API #
The Relay offers a variety of events that your applications can subscribe to in order to be notified of changes or actions. For example, you can set up subscriptions to detect when new calls are made when presence settings are altered, when calls are placed in a queue, or when recordings are generated.
To help C# .Net developers utilize our events API, we have provided two downloads:
Data and Shared DLLs #
To reduce the complexities of using a REST API, we provide two DLLs that contain class object definitions and methods that you can use to work with our API.
Visual Studio sample project #
To see how to use our DLLs in your project and how to subscribe to events, we provide a sample Visual Studio project that provides a basic example you can use as a starting point for your project.
SSL / TLS Certificate #
The Relay shares the same certificates used by 3CX. It is not necessary to provide separate certificate files for the Relay
Need Support? #
Visit our website to access our on-line manuals and receive quick answers to most of your questions. Otherwise, you can contact us by email, live chat, and phone.
Contact Us #
| Email: | Support@VoIPTools.com |
| Live Chat: | VoIPTools.com |
| Phone: | +1 801-642-4655 |
Support Hours #
We are now available 24/7 365 days a year
Event Logs #
The Windows Event Log lists various errors, information messages and warnings related to all our VoIPTools applications and services. The data here can be used for troubleshooting various application errors.
For Windows events look in the Windows event viewer under: “Applications and Settings / VoIPTools”
Email #
You can email us at: support@voiptools.com. Be sure to describe your issue in detail. We’ll get back to you within one business day of receiving your request. Be sure to include the following information:
- 3CX Server:
- Operating system (Windows / Linux)
- 3CX version number
- 3CX Edition (Startup / Pro / Enterprise)
- License size (simultaneous calls)
- The VoIPTools applications you have installed (including version numbers)
- The version number of your Relay
- Description of your issue
Live Chat #
Our chat support team is ready to acknowledge your queries in real time. You can start a live chat with us by simply clicking on the Live Chat button at the lower right corner of our web page.
Phone Support #
Our USA phone support is available Monday – Friday 8:00 a.m. to 5:00 p.m. CST. At all other times, phone support is provided by our team in Deli and Hyderabad India.
Submit a bug #
If you suspect a bug in any of our VoIPTools products, you can bring it to our notice by reporting your issue at: https://www.voiptools.com/report-a-bug/
Make sure to include the same information required for email support (see above)
