The purpose of this document is to provide a detailed step-by-step guide on creating an Amazon Web Services (AWS) account, generating AWS access key ID and secret key IDs, and utilizing these keys for website integration, ensuring users can follow the instructions effectively and securely set up their AWS accounts for various services.
Create Amazon Web Services (AWS) Account #
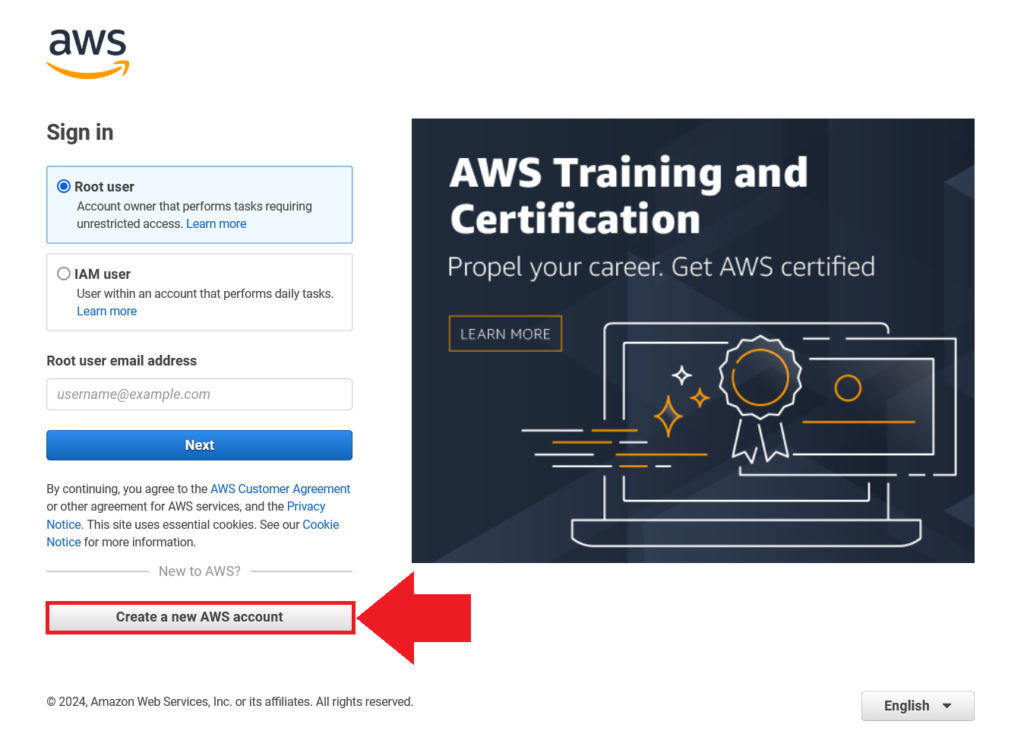
- Open your web browser and navigate to https://portal.aws.amazon.com/.
- On the Sign-In page, select Create a new AWS Account option.
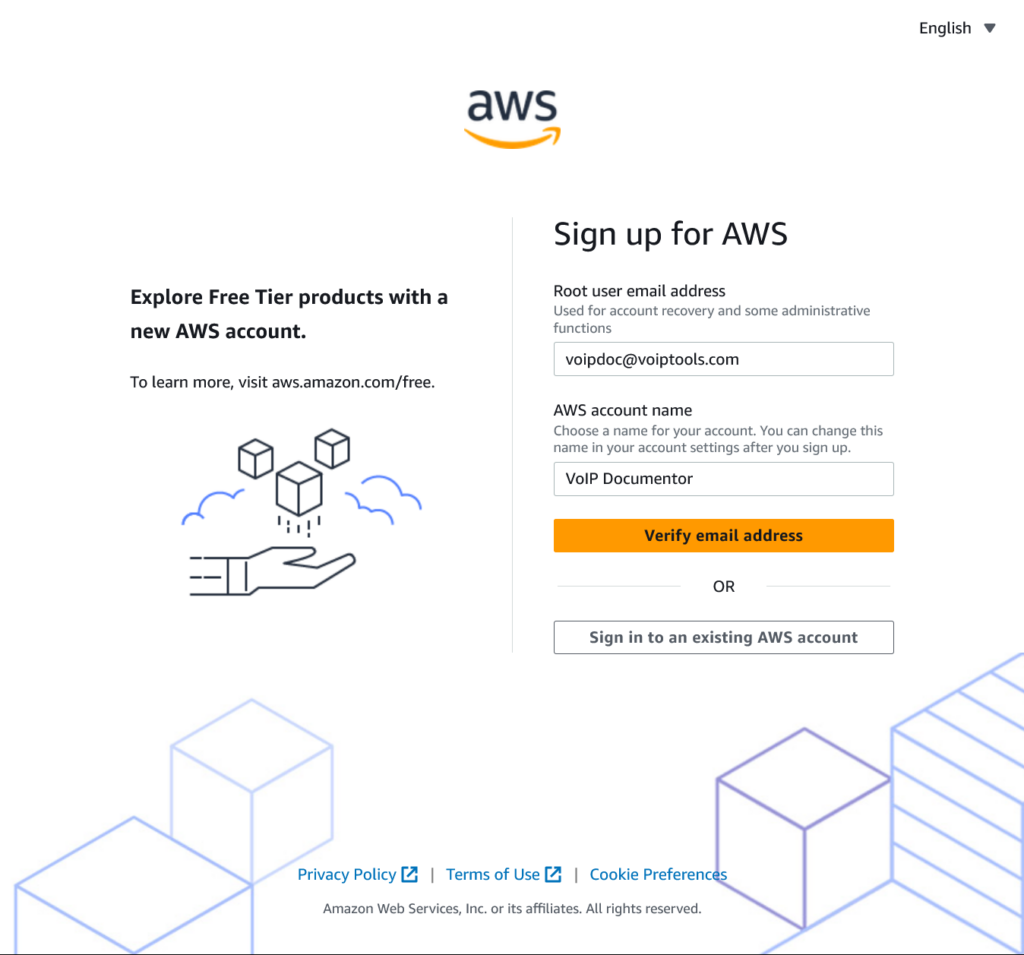
- On the Create an AWS Account page
- Enter a valid email address in the Email Address field.
- Enter a name for your AWS account in the AWS Account Name field.
- Click the Verify Email Address button to let AWS verify your email address.
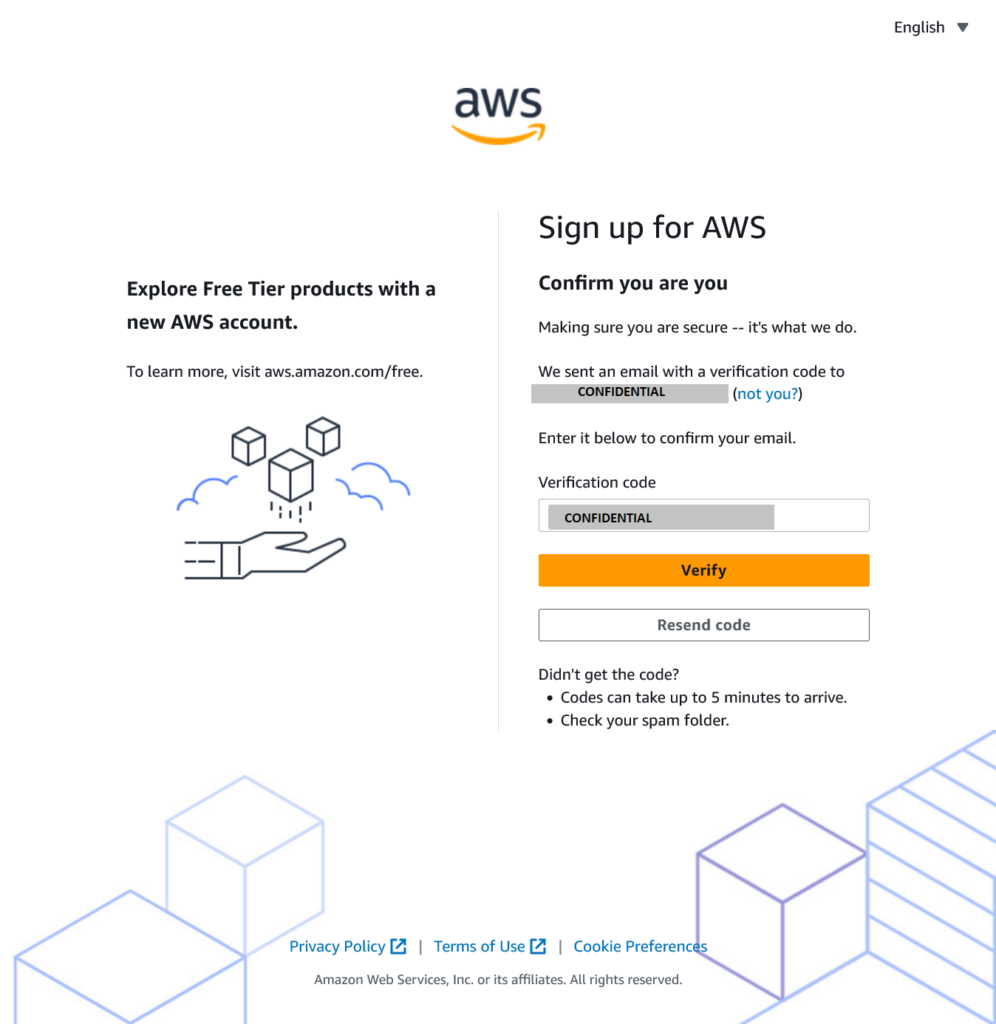
- AWS sends you a verication code to your email address specified earlier in the step 1. Copy and paste the verification code in the Verification Code field and click the Verify button.
- In the Root User Password field enter your desired password. Click here to learn about the rules for creating password in AWS.
- Re-enter your password in the Confirm Root User Password field and click the Continue button.

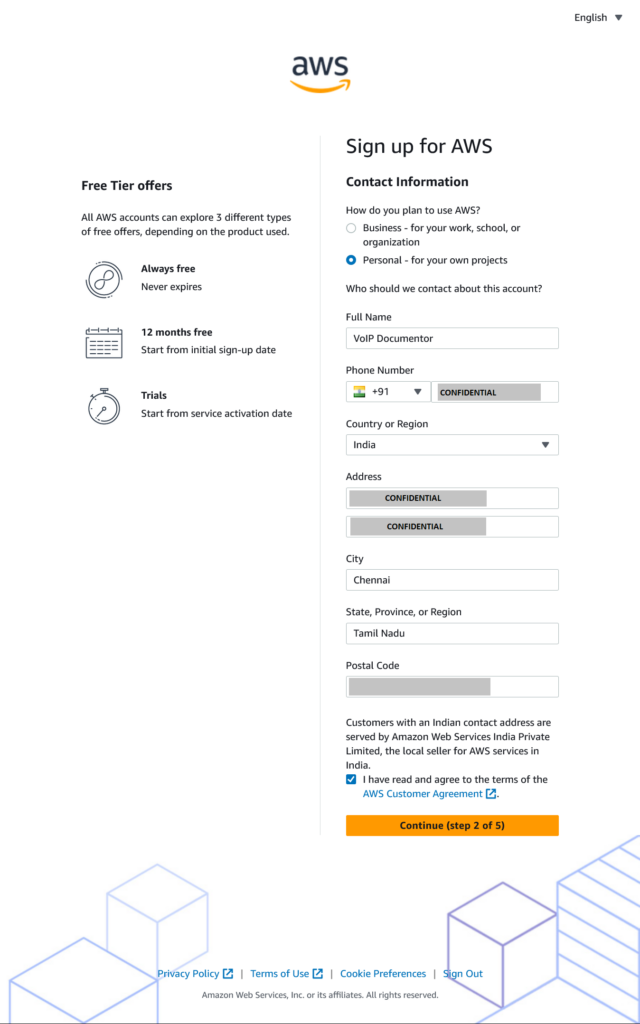
- On the Contact Information page,
- Select the desired Account Type.
- Enter the necessary details in the Required Fields, including Full Name, Company Name, Country/Region, Address, City, State/Province or region, Postal code, and Phone Number.
- Enter the security code displayed in the Security Check field.
- Check the AWS Customer Agreement checkbox to confirm your acceptance of the terms.
- Click Create Account and Continue.
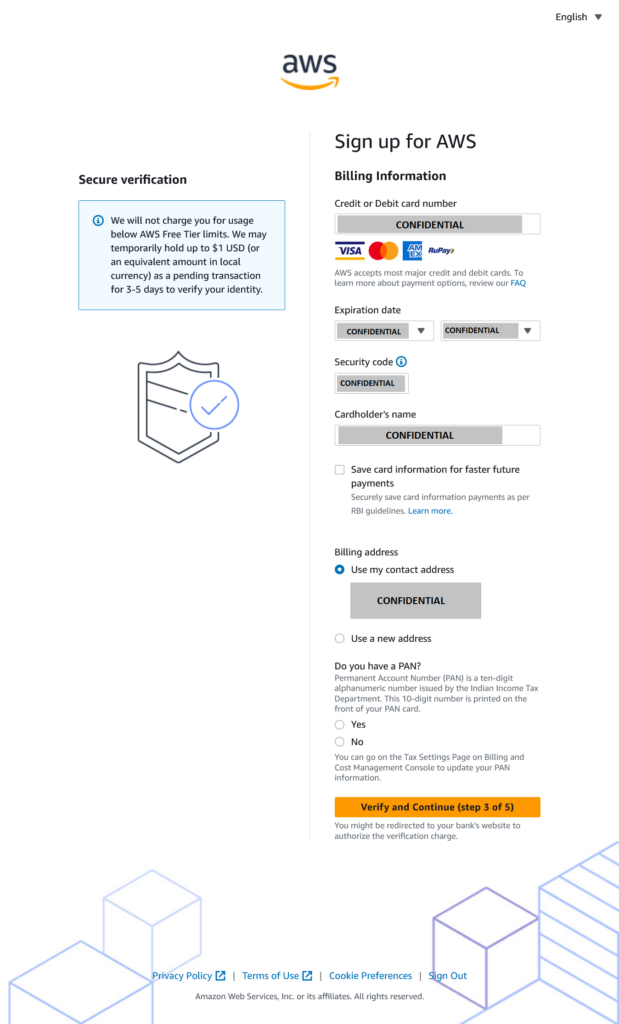
- On the Payment Information page,
- Enter your Credit/Debit Card Number and Expiration Date for AWS billing.
- Click Secure Submit and provide the requested details for authentication.
- On the Phone Verification page,
- Select your desired country from the Country/Region Code dropdown.
- Enter your phone number for AWS authentication.
- Enter the displayed Security Check captcha.
- Click Call Me Now to receive an immediate call from an automated system (Figure 16).
Figure 5: Generate Automated Call
-
- Note the 4-digit PIN displayed in the Call In Progress popup
Figure 6: Note PIN and enter in telephone key pad
-
- Answer the call from AWS and enter the 4-digit number on your phone keypad when prompted.
- Upon successful identity verification, the screen will display the message Your Identity Has Been Verified Successfully.
- Click Continue to proceed with selecting your Support Plan.
Figure 7: Identity successfully created
- On the Select A Support Plan page, choose the desired support plan. The Basic plan is the default and is free.
Figure 8: Support Plans
- On the Welcome to Amazon Web Services page, click Sign In to the Console to access the AWS Console.
Figure 9: Navigate to AWS Signin Page
Generate Amazon Web Services (AWS) Access Key ID and Secret Key ID #
- On the Sign-In page,
- Enter the email address you used to create your AWS account and click Next.
Figure 10: Enter your AWS account email address
-
- Enter your AWS account password and click “Sign in” (Figure 22).
Figure 11: Enter Sign in Credentials
- On the menu bar, click the down arrow next to Services.
Figure 12: Services
- Under the Security, Identity & Co section, select IAM
Figure 13: Security, Identity & Co… – IAM
- Click the down arrow next to Delete Your Root Access Keys and then select Manage Security Credentials.
Figure 14: Delete your root access keys
- In the popup message box, click Continue To Security Credentials.
Figure 15: Continue to Security Credentials
- In the Your Security Credentials page, click Access Keys (Access Key ID and Secret Access Key).
Figure 16: Access Keys (Access Key ID and Secret Access Key)
- Click Create New Access Key.
Figure 17: Create New Access Key
- In the Create Access Key popup, click Download Key File to save the key file containing the Access Key ID and Secret Access Key.
Figure 18: Download Key File
- Save the rootkey.csv file once it downloads.
Figure 19: Open with Notepad
- To view the rootkey.csv file, click Open.
Figure 20: Save rootkey.csv file
- The rootkey.csv file will display your Access Key ID and Secret Key ID.
Figure 21: rootkey.csv file
- The Your Security Credentials page will also show your Access Key ID. Please note that you will never see your Secret Key ID again. Ensure to keep your downloaded key file secure.
Figure 22: Access Key ID created
You can now use your AWS Access Key ID and AWS Secret Key ID to integrate the Amazon associate program with the products on your website.
