Introduction: #
Escape the Beeping Nightmare: Efficient SLA Management with VoIPTools Queue Notifier and 3CX
In the world of 3CX, you can set SLAs on your queue and send breach notifications to specific recipients. However, this feature may result in constant interruptions and beeping, causing a lack of focus. With VoIPTools Queue Notifier, you can send targeted notifications to the right people for efficient communication, replacing the flood of notifications with a smarter approach. Beyond standard email alerts, our tool offers a comprehensive solution to SLA management. Take control of your notifications and streamline communication with 3CX and VoIPTools Queue Notifier for an intelligent SLA management experience.
Prerequisites #
Before installing ‘3CQueue Notifier (Client)’, you need to ensure that your computer meets the minimum requirements mentioned below:
- 3CX Version V18 (Windows Only)
- Windows 10 or above / Windows Server 2012 or above
- Internet Information Server (IIS) 7.0 or above
- .Net 4.7.2 or above
NOTE:
When installing IIS, be sure to install Basic Authentication, .Net Extensibility, and ASP.Net 4.X
Installation overview #
 | DOWNLOAD SOFTWARE | You can order 3CX Queue Notifier (Client) online at https://www.voiptools.com. Your order confirmation email will include your license key and a link to download the software. |
 | INSTALL 3CX QUEUE NOTIFIER (CLIENT) | This User Guide contains step-by-step instructions to successfully install 3CX Queue Notifier (Client). Begin by extracting the installer from the downloaded zip file (Step 1 above), then run the setup program named QueueNotifierClient.exe |
 | REGISTER YOUR SOFTWARE | You must register your license key to activate 3CX Queue Notifier (Client). Your license key is included in your order confirmation email, and can also be found in your order history on our website. |
Step-by-Step Installation Procedure: #
The following section guides you through a detailed walk-through of the installation process:
Step 1: Download 3CX Queue Notifier (Client) #
- Find the software download link in the Order Confirmation Email, or you can find it in your order history on our website and download the 3CX Queue Notifier (Client) application.
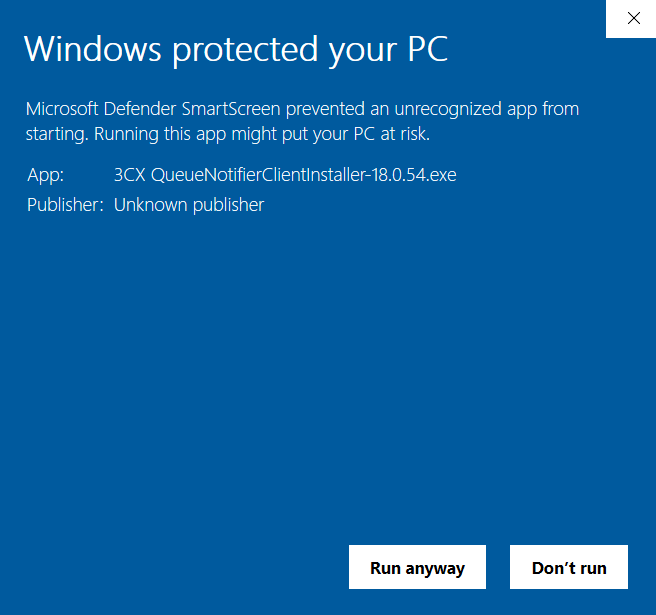
- In the Microsoft Defender SmartScreen, click the More Info option.
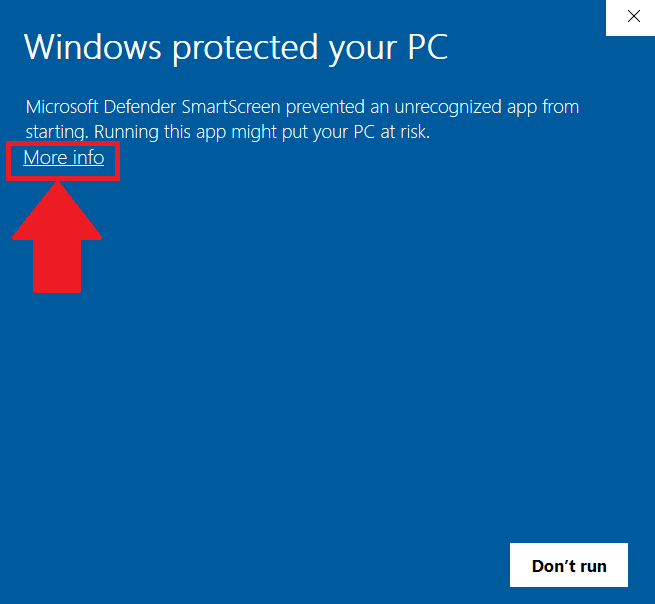
- Click the Run Anyway option to start the installation.
Step 2: Start the Installation #
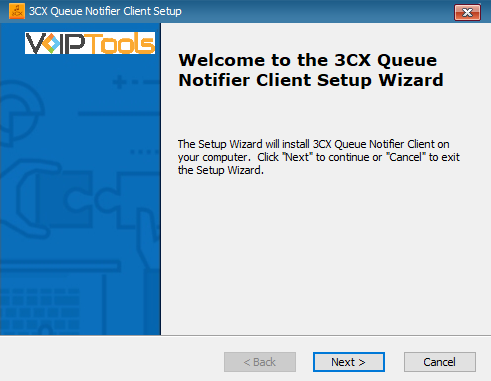
- Click the downloaded installer executable to start the 3CX Queue Notifier setup wizard.
- On the Select Installation Folder window, view the installation folder. You cannot change the installation path.
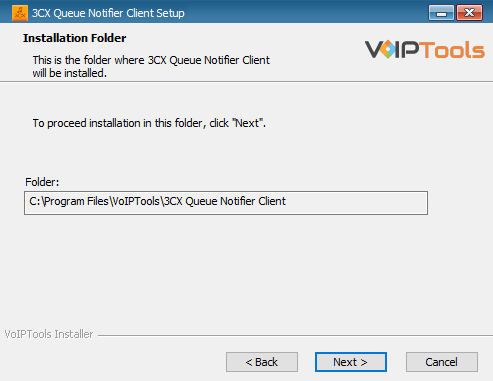
- Click Next to continue with the installation.
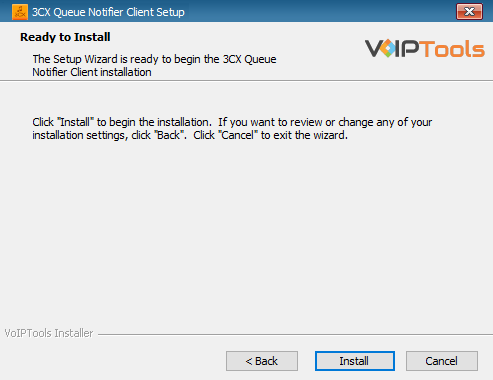
- In the Ready to Install window, click Install to start the installation of the ‘3CX Queue Notifier (client)’.
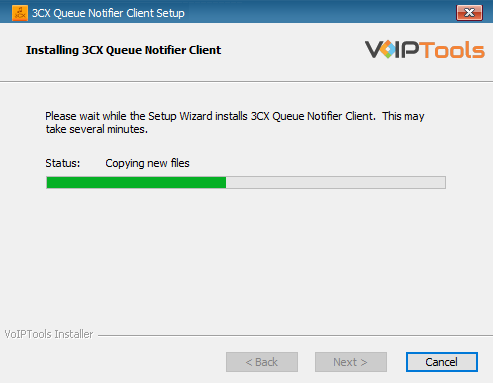
The application installation progresses. This may take several minutes to complete.
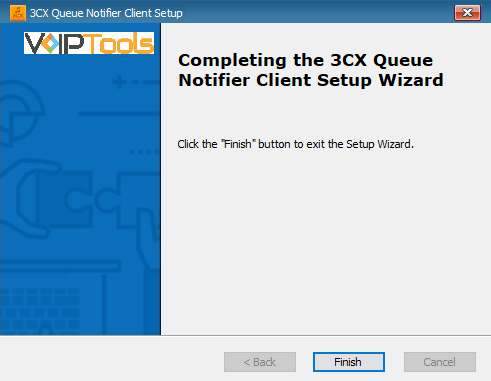
- Once the installation is complete, check Launch 3CX Queue Notifier (client) check box and then click Finish. The 3CX Queue Notifier (client) configuration screen opens. If you want to simply close the installer without opening the configuration screen, then simply uncheck Launch 3CX Queue Notifier (client) check box and then click Finish
Queue Notifier (client) as Hidden Icon in System Tray: #
Once you start ‘3CX Queue Notifier (client)’ application, the ‘QueueNotifier service’ starts and the application will be available as a hidden icon in the system tray. From here, you can do the following,
- View the Queue/Ring Group Notifications.
- Configure the Client Settings.
- View the contact details of VoIPTools.
- Exit the Queue Notifier Client application.
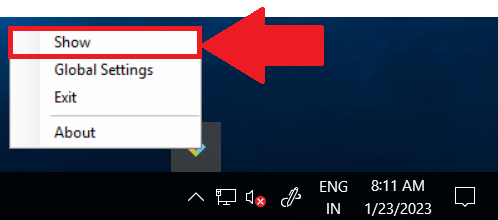
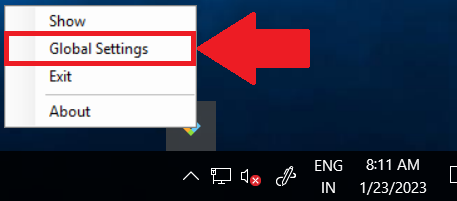
Right-click menu options in the system tray #
- On the Windows Taskbar in the Notification area, right-click the VoiPTools Logo
 to open the Queue Notifier(client) settings menu.
Show: #
- Right-click the Queue Notifier (client) icon hidden in your system notification area.
- Select the Show option from the right-click menu.
- You can view the Queue/Ring Group Notifications on this menu.
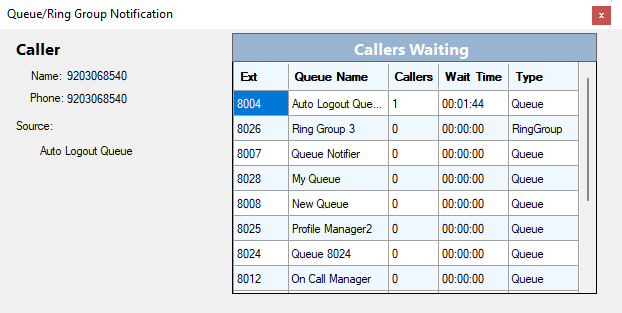
![]()
| Caller | Name | Name of the caller. |
| Phone | Phone number of the caller. | |
| Source | Indicates the source from which the information is displayed. | |
| Callers Waiting table | Extension | Queue Number |
| Queue Name | Name of the caller’s Queue. | |
| Callers | Number of callers waiting in the mentioned queue | |
| Wait Time | Waiting time of the caller in HH:MM:SS format. | |
| Type | Type of notification. Ring Group notification or Queue notification. |
Global Settings: #
To change the Global Settings do the following,
- Right-click the Queue Notifier (client) icon hidden in your system notification area.
- Select the Global Settings option in the right-click menu.
- In the Agent Extension field, enter the extension of the agent to notify.
- In the VoIPTools Server section,
- Enter your FQDN ID in the FQDN field.
- Enter your Port number in the Port field.
- Select the server protocol in the Protocol list.
- In the Notifications section,
- In the Notification sub-section,
- Check the Text-to-Speech radio box to send notifications to the agent as voice messages.
- Check the Beep radio box to send a notification to the agent as a beep sounds.
- In the Frequency sub-section,
- Check the 1-time radio box to play the notification only once.
- Check the Repeat X radio box to play the notification multiple times.
- In the Notify Ever field enter the time (in seconds) to notify the agent after the desired time.
- In the Notification sub-section,
- Enter the time (in seconds) in Auto-Close after Seconds field to automatically close the notification after the set time.
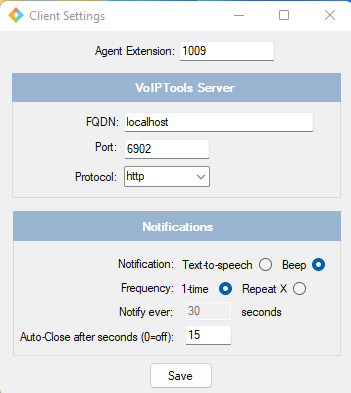
- Click Save to save the Client Settings.
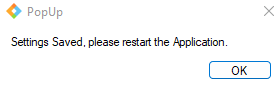
- In the PopUp box, click OK.
Need Support? #
You get quick answers to most of your inquiries in our online manual. If you prefer direct contact, we offer various support channels, including phone, email, live chat, and our helpful VoIPTools forums.

24/7 Support Availability #
Rest assured, our dedicated team is here to assist you around the clock, every day of the year. Whether you’re based in the USA or India, we’re ready to provide prompt responses to your technical queries.

Windows Event Log for VoIPTools Applications and Services #
For troubleshooting any application errors, our Windows Event Log contains a comprehensive list of error messages, warnings, and informative notes related to all our VoIPTools applications and services. It’s a valuable resource to help you pinpoint and resolve any issues you may encounter.

Join Our Forum Community #
Are you looking to collaborate with other VoIPTools customers facing similar challenges? Our forum is the perfect platform to exchange ideas, solutions, and best practices. Join the conversation at: https://www.voiptools.com/community/

Real-Time Live Chat Assistance #
Got questions that need immediate answers? Our chat support team is available to assist you in real time. Just click on the Live Chat button located at the lower right corner of our website, and we’ll acknowledge your queries right away.

Efficient Email Support #
To ensure a thorough understanding of your concerns, email us at support@voiptools.com. Describe your issue in detail, and we’ll get back to you within one business day with the support you need.

Reach Us by Phone #
If you prefer to speak with a representative directly, you can reach us at +1 801-642-4655. Our attentive team is available to take your calls from 8:00 AM to 6:00 PM (Central Standard Time).
Comprehensive support services: #

Free Support #
If you’ve purchased our products through a VoIPTools Partner, rest assured that they provide first-level support at no additional cost. Partners have access to 100% free technical assistance and actively participate in the troubleshooting process.
VoIPTools customers enjoy access to our online manuals and receive support through emails (with responses within one business day) and live chat. However, please note that we do not provide remote server login assistance.

Paid Support #
For a more hands-on experience, consider our “Installation Support” package. Our expert support team can log in to your servers, and install and configure all our tools. This comprehensive service includes setting up SQL Server Express and Internet Information Server if necessary. We’ll work closely with you to tailor our applications to meet your requirements.
We’re committed to providing top-notch support to ensure your VoIPTools experience is smooth and hassle-free. Contact us today, and let us assist you in making the most of our powerful tools!
